Coffee & Quinoa

  • Home
  • About
  • Recipes
  • Links
  • Contact
You are here: Home / Archives for baking

Coconut Rhubarb Cake

June 26, 2013 by Erica

Coconut Rhubarb Cake

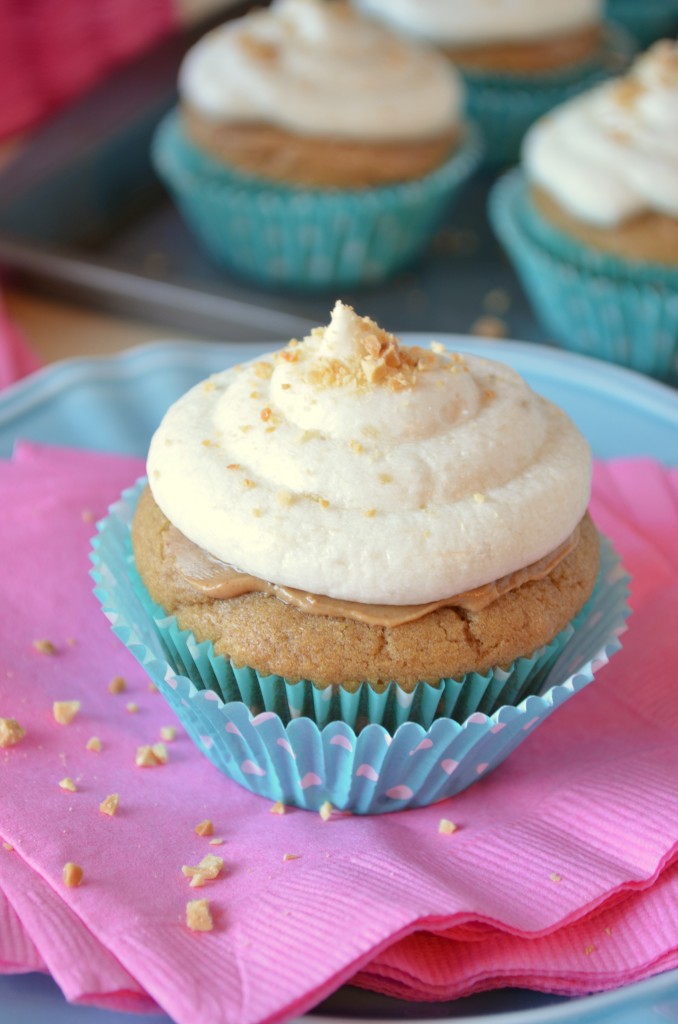
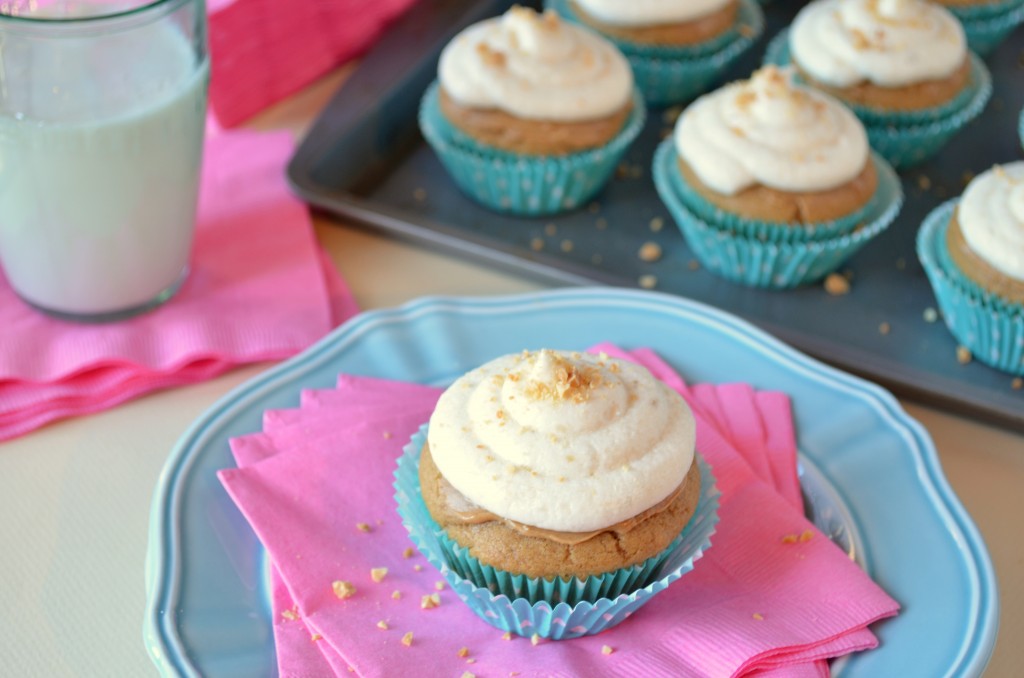
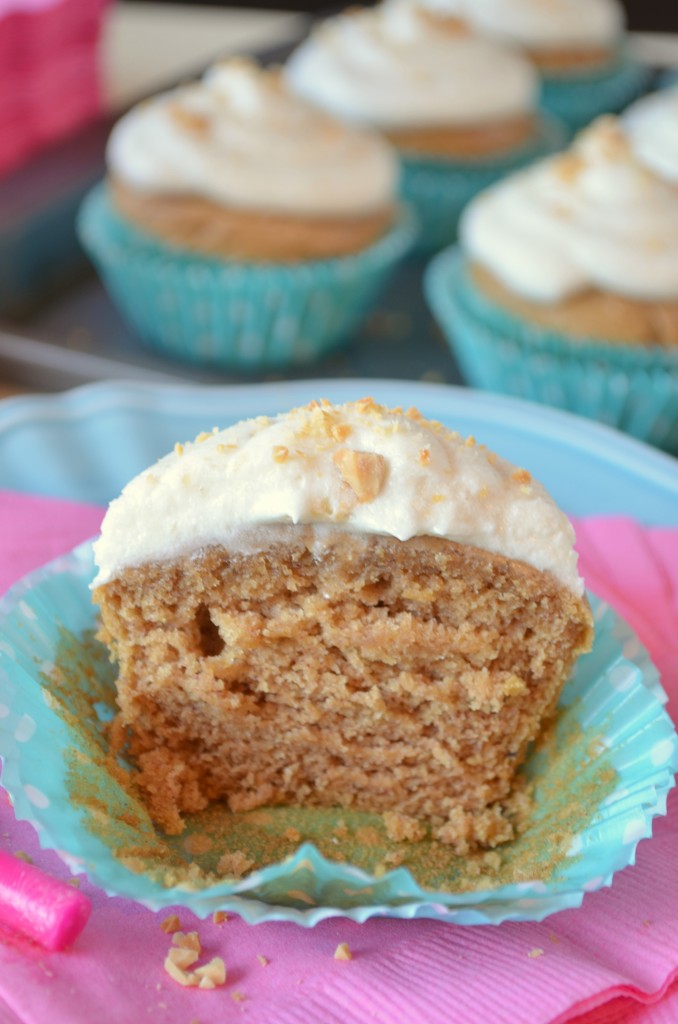
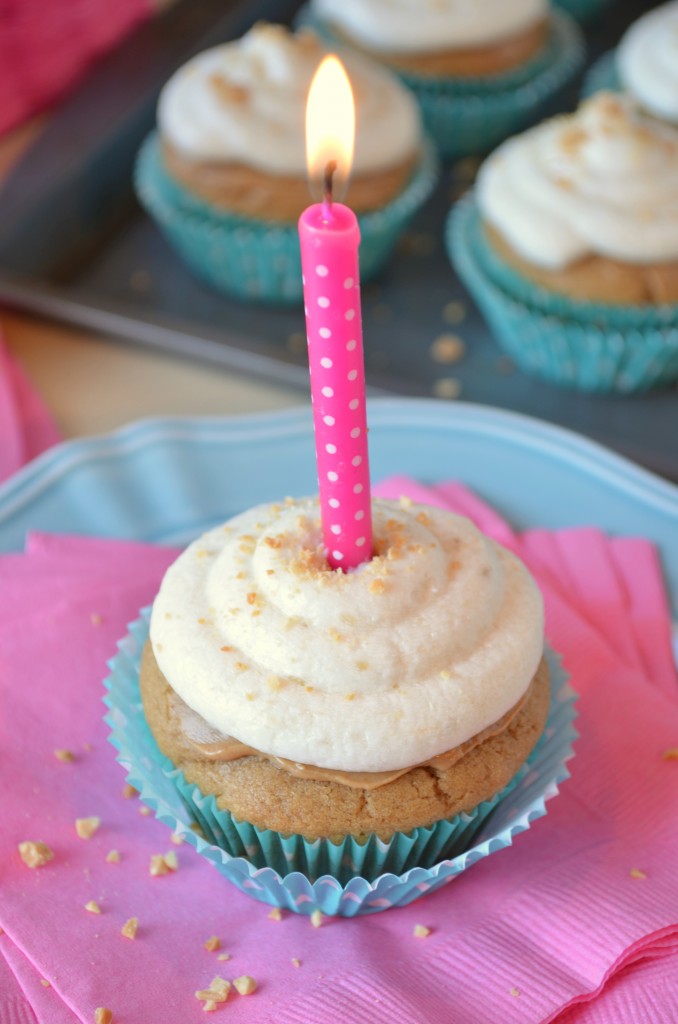
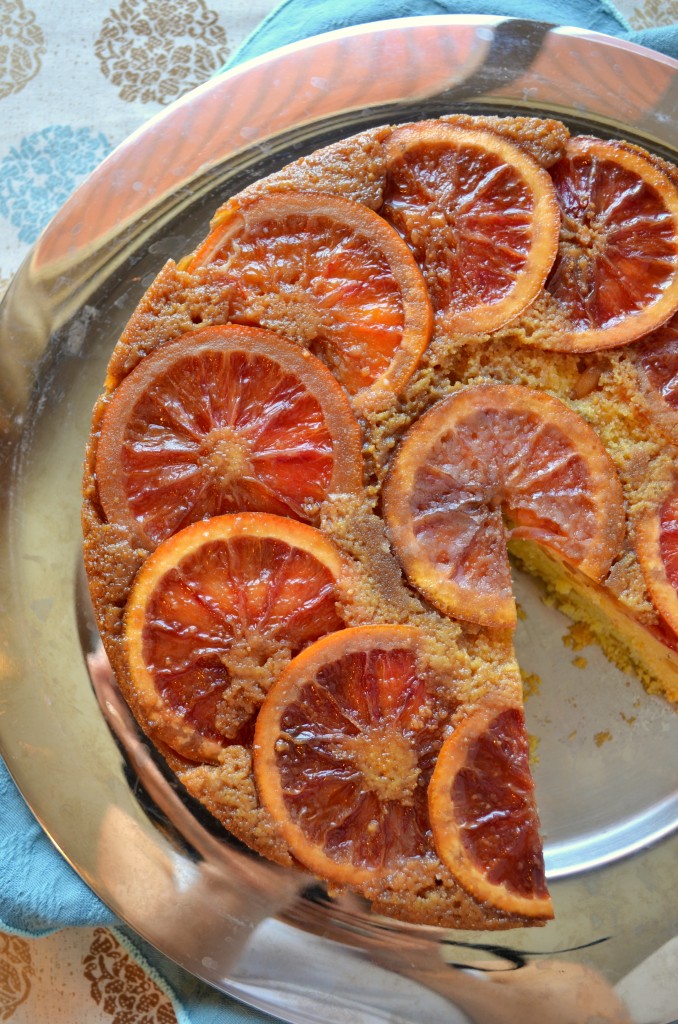
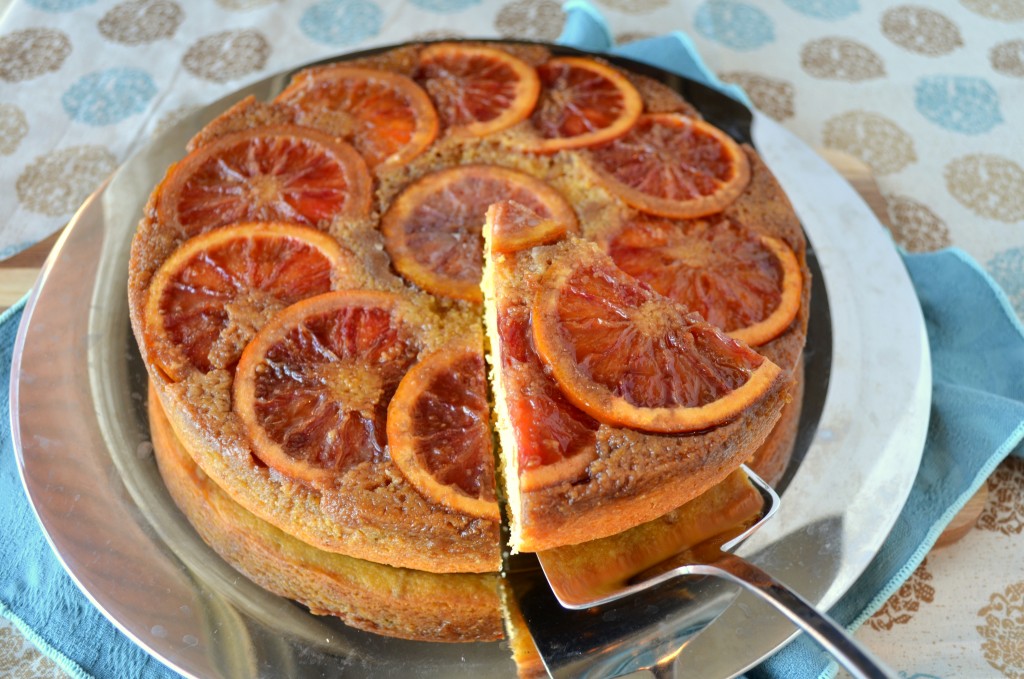
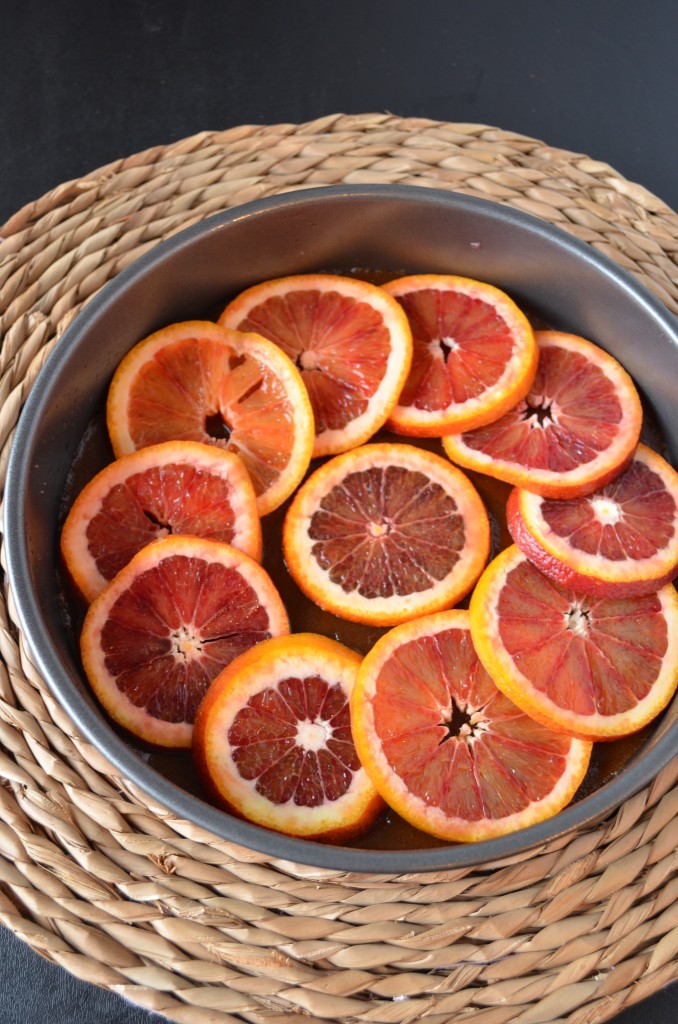
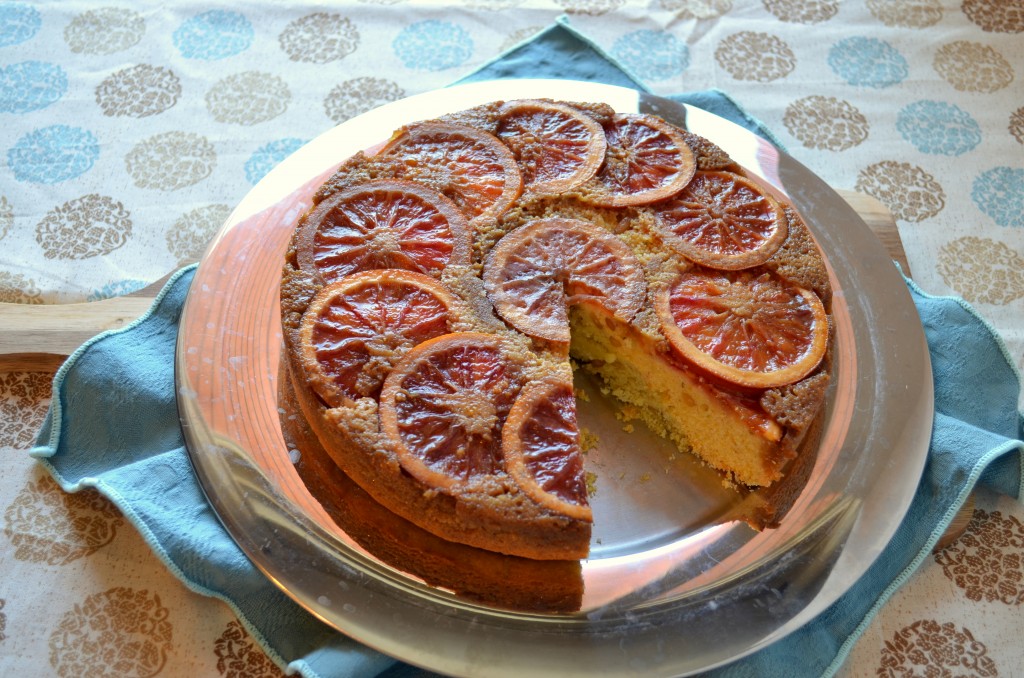
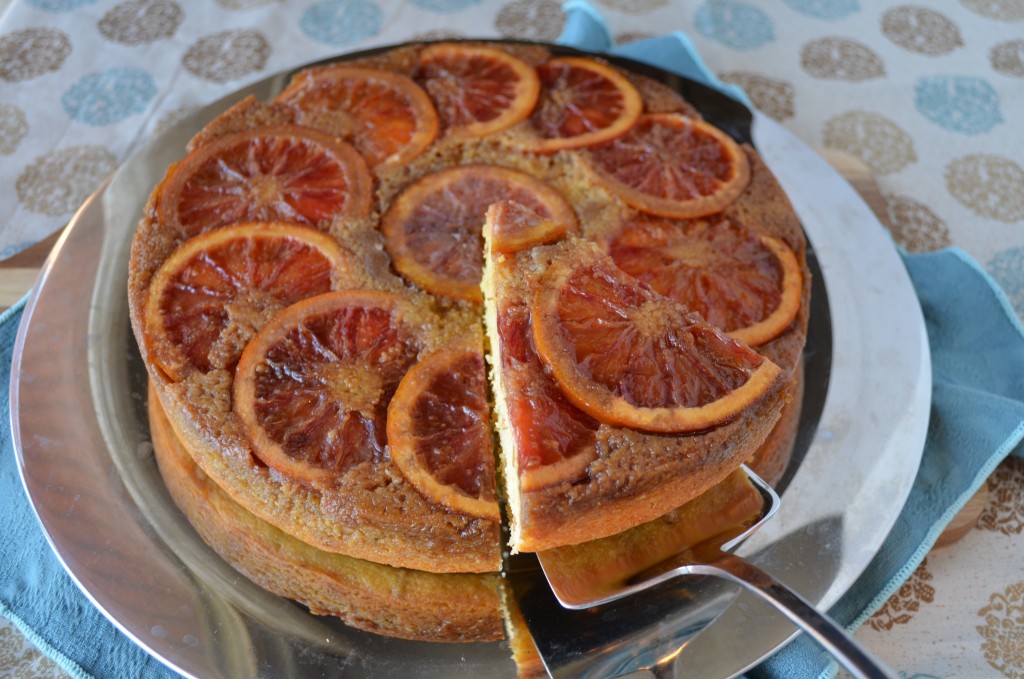
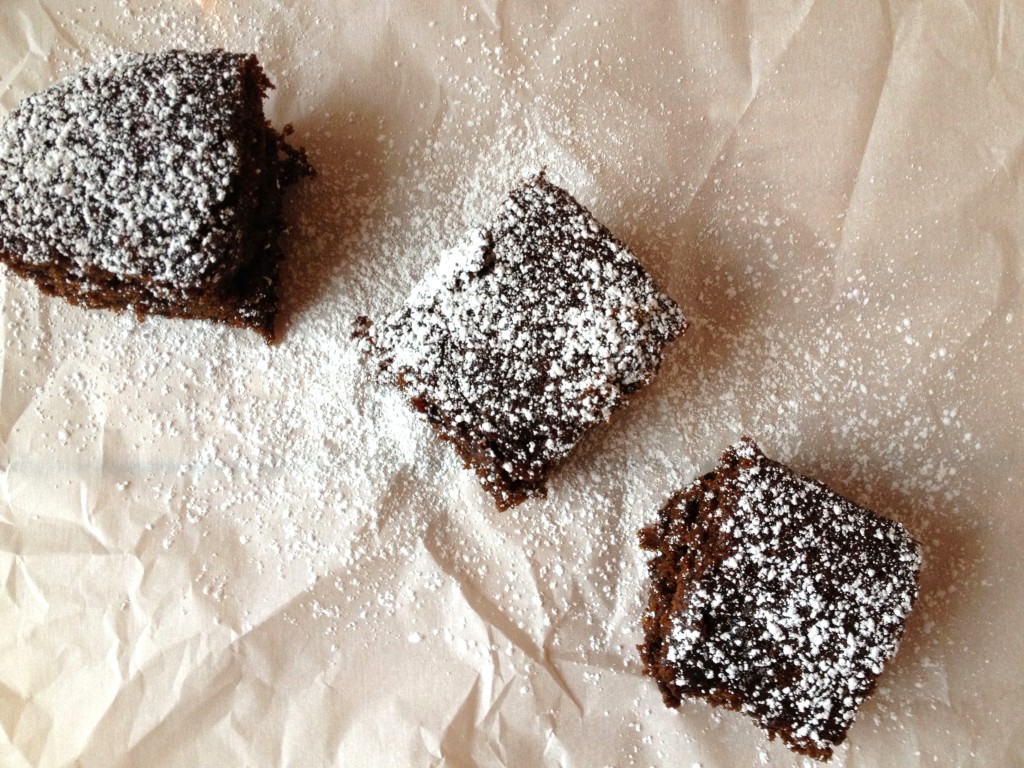
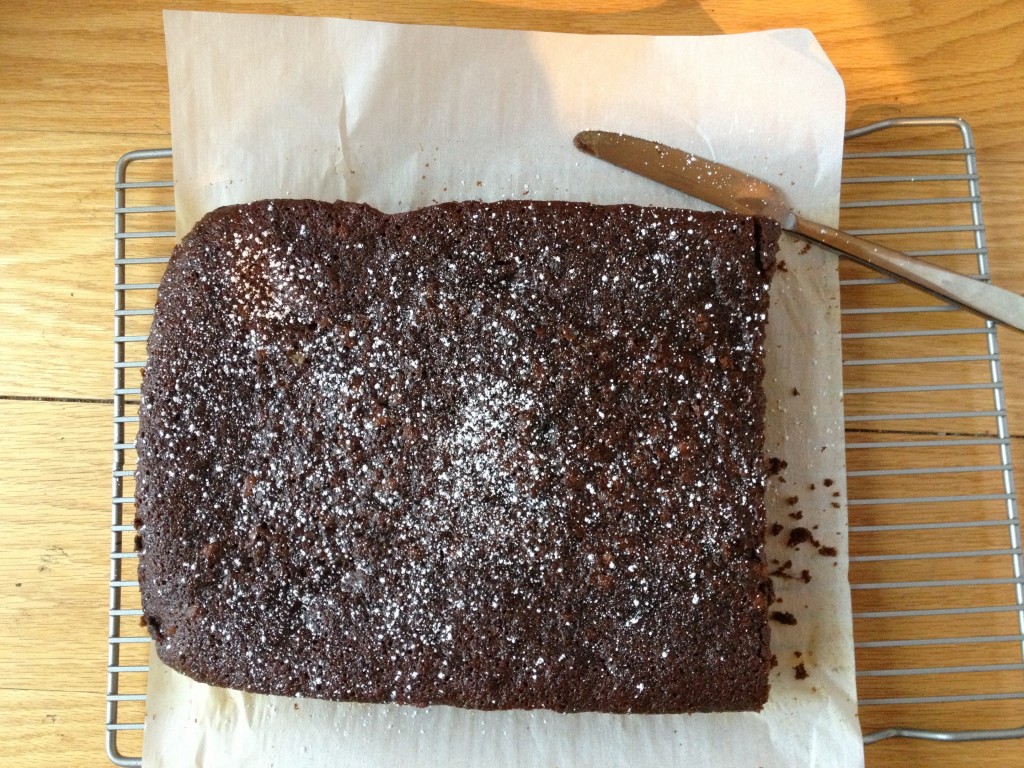
I couldn’t let the season go by without posting some rhubarb recipe. It’s no secret that I love colorful foods, and rhubarb is right up there with the prettiest of ’em.

Coconut Rhubarb Cake

I hope rhubarb is still in season where you are! That way you can make this yummy cake.

Coconut Rhubarb Cake

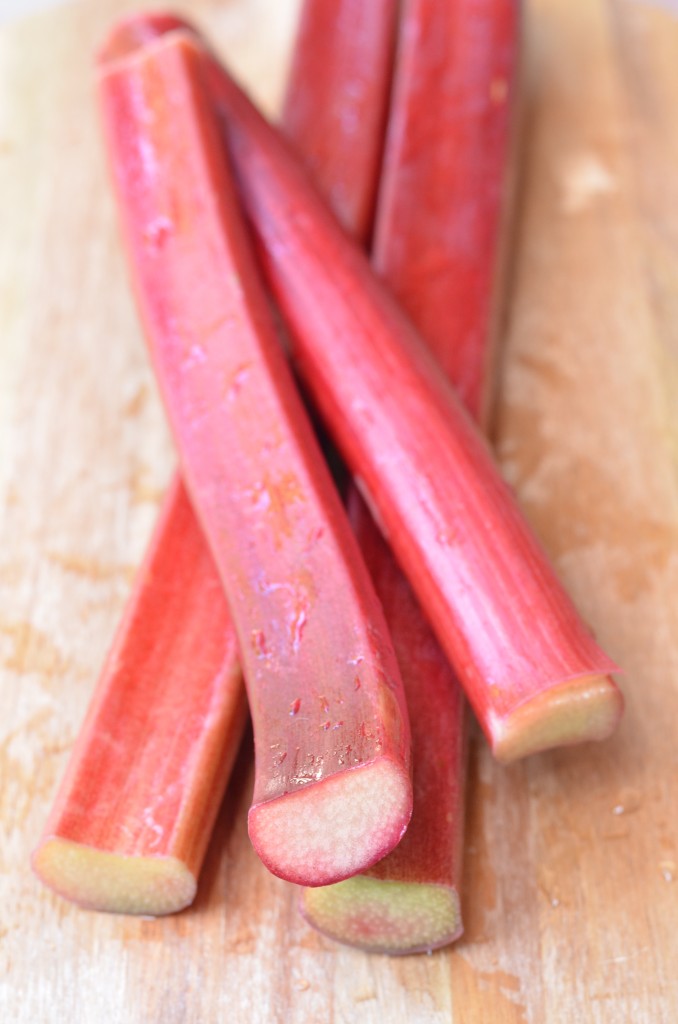
Now I wasn’t raised on rhubarb; I don’t recall my mother ever making a strawberry rhubarb pie. In fact, I think last year was the first time I’d ever had rhubarb! It cracked me up when I first tasted it – looks like red celery, tastes like sour apples. What a funny little stalk!

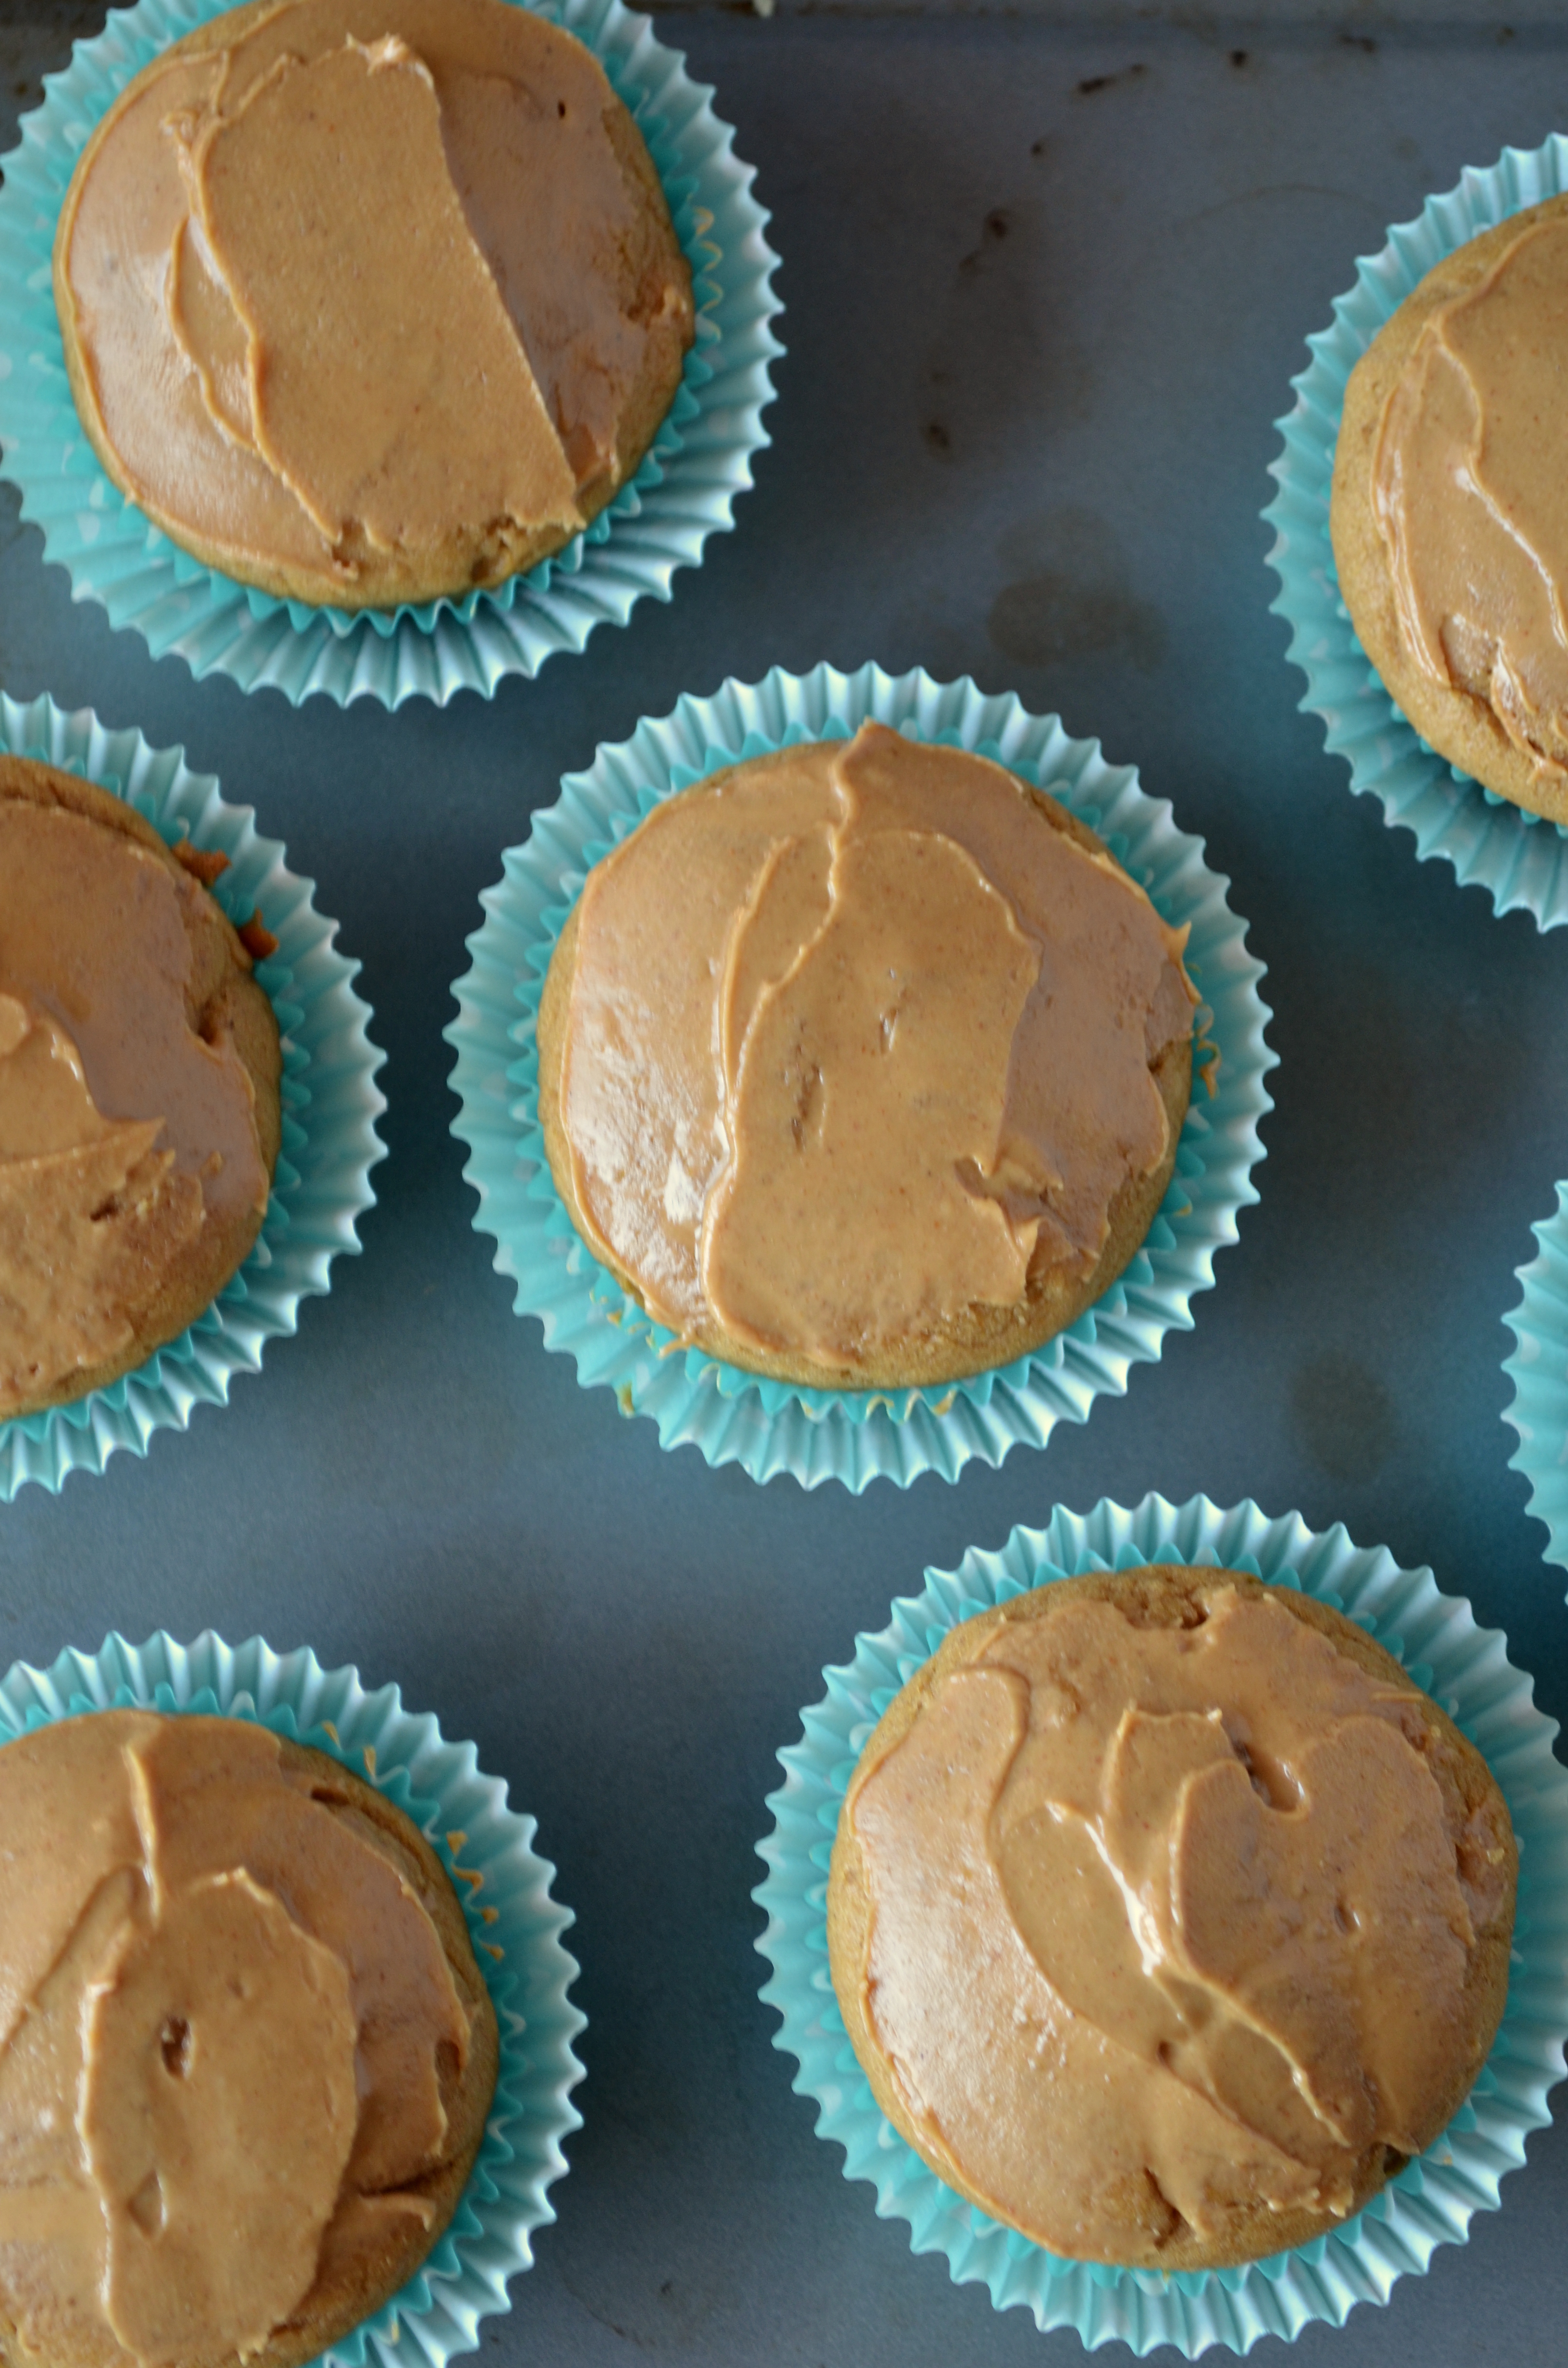
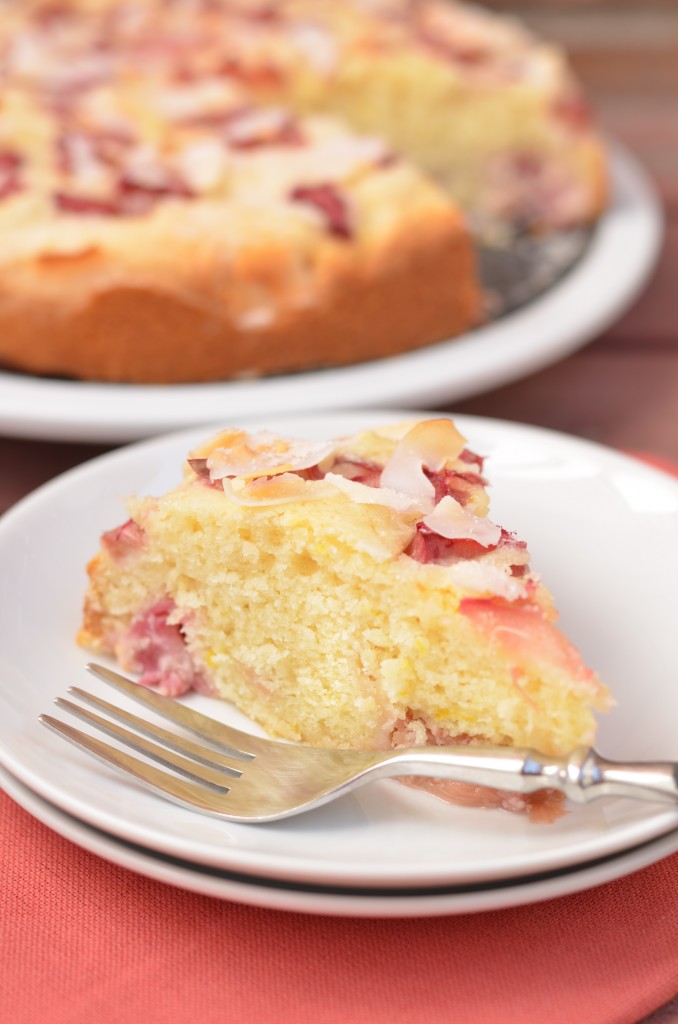
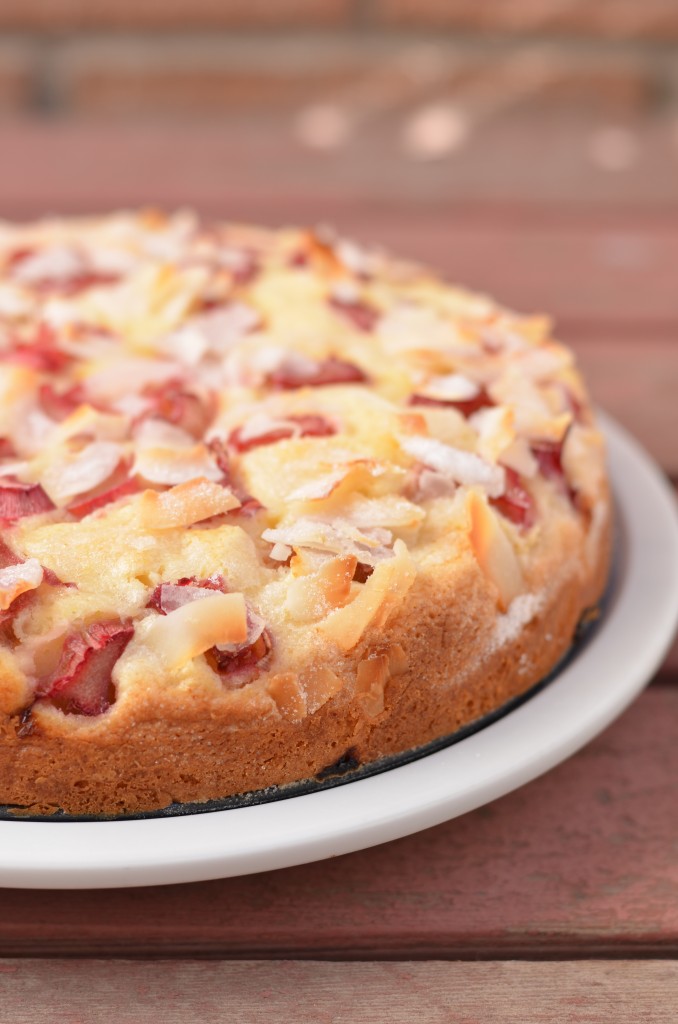
I have a lot more experimenting to do with rhubarb, but let’s focus in on this particular experiment: coconut rhubarb cake.

… 

Read More »

Filed Under: Cakes Tagged With: baking, butter & eggs, cake, dessert, rhubarb, summer

Outrageously Fudgy Pretzel Brownies

June 3, 2013 by Erica

Outrageously Fudgy Pretzel Brownies

Call me crazy, but even with all the fresh summer produce jumping off the shelves, this is the combination I’m obsessed with right now.

Outrageously Fudgy Pretzel Brownies

Chocolate and pretzels.

I’ve been craving pretzels with everything recently. Hummus, cheese, chocolate. (All the major food groups right there.) And just to prove that I am taking very seriously the tragic lack of brownies (my favorite food) on this site, I decided to bake some pretzels into a batch of them for you.

For you, for me… let’s not split hairs about who is benefiting from this recipe.

… 

Read More »

Filed Under: Brownies & Bars Tagged With: baking, butter & eggs, chocolate, dessert, pretzels

Peanut Butter Birthday Cupcakes with Banana Buttercream Frosting

March 21, 2013 by Erica

Peanut Butter Birthday Cupcakes with Banana Buttercream Frosting

Happy birthday to meeee!

I turn 26 today. Probably not the most exciting age, but still one I hope will bring good things.

Peanut Butter Birthday Cupcakes with Banana Buttercream Frosting

25 was a great year. It wasn’t full of huge changes or excitement, but I’d like to think I started spending more time on things I enjoy over the past year. I’m definitely feeling happy at the end of 25, so I can only hope 26 brings more of the same!

No big celebrations planned for 26. In case you don’t know, I kind of dread being the center of attention, so I sometimes find my birthday a bit embarrassing. Weird, I know. Last year Nate threw me a surprise party, which was amazing – I was SO surprised! – but I asked him pleeeease not to do that this year, because I just can’t handle it! My last surprise party before that was my 16th birthday, so hopefully I have another 10 years or so before the next one. On the 9 birthdays in between, I prefer just a romantic dinner with my sweetie!

Something else I think I’ll want on my birthday for the next 9 years? These cupcakes.

Peanut Butter Birthday Cupcakes with Banana Buttercream Frosting

Peanut butter cupcakes with a banana buttercream frosting. If that doesn’t make your heart skip a beat, I’m not sure what will.

I have been on a huuuuge peanut butter kick recently. Recently, like for the past year. Peanut butter dolloped on my oatmeal, spread on my fruit, melted over vanilla ice cream and a brownie (what?), and blended into my smoothies and salad dressings. And these cupcakes are pretty much my ultimate peanut butter lovin’ creation.

Peanut Butter Birthday Cupcakes with Banana Buttercream Frosting

As they should be; it took me THREE batches of cupcakes and FOUR batches of icing to perfect this combination. (Well, one of the batches of cupcakes was because I managed to double everything except the flour… details.)  These cupcakes aren’t fussy or anything, it’s just that I wanted to make sure I had the perfect cake+icing combo to celebrate my birthday. At one point I tried to use a peanut butter frosting with the peanut butter cupcakes. I thought it was delicious, but was informed by Nate that we might as well be eating peanut butter straight from the jar. I told him not to be silly… these are much healthier than straight PB! Kidding. But I’m glad I listened, because these cupcakes and this soft buttery banana icing are meant to be together.

And as a compromise, I snuck a little extra smear of peanut butter onto each cupcake before I iced them.

DSC_1312

Heaven!

But OMG the frosting. Let’s not forget to talk about it. It is buttery, banana-y bliss. I wasn’t too sure how a banana would fare in a frosting, but it turns out the answer is VERY WELL. As long as you use a ripe, fresh banana. First I tried using an overripe banana I had defrosted from my freezer (cause those are delicious in smoothies and banana bread), but it turns out that was the wrong choice. (Remember how I had to make four different frostings?) But use a fresh banana here and I promise you’ll want to bathe in this frosting. For real.

Also, I should mention that it seems to keep well. I was a little nervous about it turning brown as bananas tend to do while the cupcakes sat in my fridge for a few days, but that wasn’t the case. Just as purdy as on day one!

Peanut Butter Birthday Cupcakes with Banana Buttercream Frosting

Wishing I could reach into my computer and grab that little cupcake right now. It’s my birthday, so I can totally lick the frosting off, right?

Peanut Butter Birthday Cupcakes with Banana Buttercream Frosting

5.0 from 1 reviews
Peanut Butter Birthday Cupcakes with Banana Buttercream Frosting
 
Print
Hands-on time
25 mins
Cook time
50 mins
Total time
1 hour 15 mins
 
Author: Erica
Yields: 10-12 cupcakes
Ingredients
For the peanut butter cupcakes:
  • 1/4 cup (1/2 stick) unsalted butter, softened
  • 1/2 cup smooth peanut butter
  • 1/2 cup packed brown sugar
  • 1 egg
  • 2 tsp vanilla extract
  • 1 1/4 cup all-purpose flour
  • 1 tsp baking soda
  • 1/4 tsp kosher salt
  • 2/3 cup milk (I used plain unsweetened almond milk)
For the banana buttercream:
  • 1 ripe banana, mashed (not overripe!)
  • 1/2 cup (1 stick) unsalted butter, softened
  • 1 tsp lemon juice
  • 1/2 tsp vanilla extract
  • pinch of salt
  • 3 cups powdered sugar
To top (optional):
  • Peanut butter
  • Finely chopped toasted peanuts
Instructions
  1. Preheat oven to 350 and place liners in cupcake tins.
  2. In a large bowl, beat together the butter, peanut butter and brown sugar for several minutes until light and fluffy. Add egg and vanilla and beat until smooth.
  3. In a separate medium bowl, sift together the flour, baking soda, and salt. Add the dry ingredients to the peanut butter mixture, alternating with the almond milk, beating well after each addition.
  4. Spoon batter into lined cupcake tins, filling each about 2/3 full. Bake until a toothpick inserted in the center of a cupcake comes out with moist crumbs, 18-20 minutes. Remove and cool completely before frosting.
  5. While cupcakes cool, make frosting. With a hand mixer (or stand mixer if you have one!), cream together the banana, butter, lemon juice, vanilla and salt. Beat in the powdered sugar, 1 cup at a time, until you have a creamy and spreadable frosting.
  6. Once cupcakes are completely cool, spread each with a thin layer of peanut butter, about a 1/2 teaspoon (optional). Spread or pipe with icing and sprinkle immediately with crushed peanuts, if using.
  7. Enjoy!
Notes
Adapted from Eat, Live, Run and AllRecipes.com.
3.2.1753


Peanut Butter Birthday Cupcakes with Banana Buttercream Frosting

Filed Under: Cupcakes Tagged With: baking, banana, birthday, butter & eggs, dessert, peanut butter

Blood Orange, Rosemary and Pine Nut Upside Down Cake

March 1, 2013 by Erica

blood orange, rosemary & pine nut upside down cake

Nate is going out of town this weekend, and I plan on taking full advantage.

blood orange, rosemary & pine nut upside down cake

Starfishing in my bed. Drinking the whole pot of coffee. Parking in our one covered parking spot. And cooking all his least favorite foods.

Now, you can’t get much more easy-going than my partner in crime. He’s an adventurous eater, and happily eats anything I put in front of him. He never once complained during my 6 months of strictly vegan cooking – I think that pretty much says it all. But there are a few flavors he doesn’t prefer… and some of them happen to be my favorites.

blood orange, rosemary & pine nut upside down cake

That’s why I’ve had my weekend blog cooking menu ready since Monday. I won’t give it all away, but the general idea is this:

– Something with tahini.

– Something with horseradish.

– Something super spicy.

(Those are going to be different dishes, by the way. Not looking to make anything with so much horseradish that I cry.)

Anyway, I can’t wait. For the cooking, that is! I’ll miss Nate while he’s gone :)

But I’m getting ahead of myself… that tends to happen on Fridays when anticipation for the weekend is running high. In the meantime, I give you this glorious cake.

blood orange, rosemary & pine nut upside down cake

This was inspired by my mom, who has taken to emailing or texting me whenever she eats something that I need to try. (Thanks Mom!) A while back, she emailed me a picture of a blood orange upside down cake she’d made, saying that she loved the idea of it, but didn’t think the recipe she’d followed had ended up looking or tasting as good as expected. She was sure I could do better! I wasn’t as sure… but I too loved the idea, and really, any excuse to cut into one of these beautiful blood oranges is enough to tempt me. Challenge accepted.

Blood Orange, Rosemary & Pine Nut Upside Down Cake | coffeeandquinoa.com

Mom said the recipe she used wasn’t flavorful enough. Luckily, I had long ago bookmarked a rosemary, pine nut and orange cornmeal cake to try at some point. This seemed like the perfect opportunity! And so this lovely cake was born.

blood orange, rosemary & pine nut upside down cake

If blood oranges aren’t available where you are, by all means use regular navel oranges. Opt for ones with thin peels, if you can, since you’ll be putting orange slices, peels and all, on the bottom of this cake. The peels do add a touch of bitterness, so you can cut them off before slicing if you’d like, but I do think the look with them on just can’t be beat. So pretty!

Blood Orange, Rosemary & Pine Nut Upside Down Cake | coffeeandquinoa.com

And if you’d prefer to use the oranges just as a garnish, you don’t have to eat them. I kind of like peeling them off and eating them first :) But be warned: you may want a sharp knife to cut this cake. Otherwise you run the risk of dragging the oranges all over like you’re eating a slice of pepperoni pizza. Just sayin’.

This cake is sure to impress, on both looks and flavor. The rosemary, pine nut, and orange combo in the base of the cake is delicious, and then topped with more oranges, butter and brown sugar? Don’t mind if I do.

blood orange, rosemary & pine nut upside down cake

5.0 from 1 reviews
Blood Orange, Rosemary and Pine Nut Upside Down Cake
 
Print
Hands-on time
20 mins
Cook time
3 hours 40 mins
Total time
4 hours
 
Author: Erica
Yields: 8-12 pieces
Ingredients
  • 1 stick plus 3 Tbsp unsalted butter, divided
  • 2/3 cup dark brown sugar
  • 2 blood oranges, sliced 1/4-inch thick, including peel (I recommend buying a few extra oranges in case you're a messy slicer like me!)
  • 1 1/2 cups all-purpose flour
  • 3/4 cup finely ground yellow cornmeal
  • 1 tsp baking powder
  • 1/4 tsp kosher salt
  • 1/3 cup pine nuts, lightly toasted and coarsely chopped
  • 1 Tbsp finely chopped fresh rosemary
  • 1 Tbsp finely grated blood orange zest
  • 2/3 cup full fat Greek yogurt (I used Chobani)
  • 4 large eggs
  • 1 1/3 cups granulated sugar
Instructions
  1. Preheat oven to 350 and position a rack in the center of the oven. Spray a 9-inch round cake pan and line bottom with parchment paper.
  2. Melt 3 Tbsp butter in the microwave. Stir in brown sugar until melted. Spread in the bottom of the cake pan.
  3. Arrange orange slices in an overlapping circle on top of the brown sugar mixture, with a few slices in the middle.
  4. Sift the flour into a medium-sized mixing bowl. Add the cornmeal, baking powder, salt, pine nuts, rosemary, and orange zest and stir to combine.
  5. Add the Greek yogurt to a large mixing bowl. Add the eggs one at a time, whisking thoroughly between each addition. Whisk in the sugar.
  6. Using a wooden spoon, fold the dry ingredients into the wet ingredients in two batches, mixing until homogeneous. Melt the remaining stick of butter and mix in.
  7. Pour the batter over the orange slices in the cake pan. Bake 40-45 minutes, until edges of cake are golden brown and a toothpick inserted in the center comes out with moist crumbs.
  8. Run a knife around the edges of the cake. Cool completely on a wire rack. Once completely cool, invert onto serving dish and peel parchment paper away, if necessary.
  9. Serve and enjoy!
Notes
Adapted from FineCooking.com. Cake will keep for several days in the fridge. Bring to room temperature before serving.
3.2.1682


Filed Under: Cakes Tagged With: baking, butter & eggs, cake, cornmeal, orange, rosemary

Black Sticky Gingerbread

December 12, 2012 by Erica

black sticky gingerbread

Happy 12/12/12! I was tempted to publish this post at 12:12, but I resisted. I will smile inwardly every time I type the date today, though!

Now I hate to disappoint you… but this is not a thumbprint cookie recipe. I have never had a thumbprint cookie. What is it with those this year? Do they dominate the internet every holiday season, or is it just a recent Pinterest trend – this month’s version of pull-apart breads? Someone please fill me in on the thumbprint phenomenon.

OK, now that I’ve gotten that off my chest, it’s gingerbread time.

black sticky gingerbread

I think most people (including myself before this weekend) have only ever had gingerbread in cookie form. And dare I say this is better than gingerbread cookies?

Chewy, gooey, and moist desserts tend to be my favorite. That’s why gingerbread cookies to me are… meh. While this actual gingerbread, on the other hand, is amazing. It is dense, sticky, and the edges get perfectly caramelized in the oven. Mmmmm.

I made this this weekend (during my holiday multi-tasking!), then proceeded to force it on everyone who walked through the door for the next few days. “Hi, how are you, eat some gingerbread!” This recipe really makes quite a bit! Perfect if you have lots of holiday house guests. Not perfect when you’re home alone in your sweatpants staring at a huge tray of your new favorite dessert. I had to get the rest of it out the door! I was only partially successful… my hands are sticking to the keyboard as I type this.

Have you noticed a pattern to my recipe posts? “I made this this weekend. It was really good. I ate way too much of it.” Rinse, repeat. Sounds about right.

black sticky gingerbread

This recipe comes straight from 101 Cookbooks. Take a look back at the original post – I echo everything Heidi says!

Black Sticky Gingerbread

From 101 Cookbooks

Makes 20 hearty squares

Ingredients:

1 cup (2 sticks) unsalted butter
1/2 cup water
3/4 cup unsulphured blackstrap molasses
3/4 cup honey
1 cup packed dark brown sugar
3 cups whole wheat pastry flour (or all-purpose flour)
1 1/2 tsp baking soda
1/2 tsp salt
2 tsp ground ginger
2 tsp  ground cinnamon
1/2 tsp allspice
1/4 tsp ground cloves
3 large eggs, at room temperature
1/2 cup milk (I used almond milk)
1 Tbsp fresh ginger, grated or finely minced

Instructions:

Preheat oven to 325. Spray a 13×9 baking dish (I used glass) and line with parchment paper so that a few edges of paper hang over the sides.

In a medium saucepan over low heat, combine the butter, water, molasses, honey, and sugar. Heat until the butter is just melted, stirring occasionally. Remove from heat, pour into a large bowl, and set aside to cool.

In the meantime, combine the flour, baking soda, salt, and spices in a medium bowl. Set aside.

Once the molasses mixture feels just warm to the touch, add the eggs one at a time. Stir will to incorporate after each addition. Stir in the milk, then the dry ingredients. (Heidi says not to be too concerned if you can’t get every lump out. I found that my batter was somewhat lumpy, but Heidi was right – that was no big deal.) Stir in the minced ginger.

Pour into your prepared pan. The batter will be very thin. Don’t worry if some of it escapes the edges of the parchment paper. As long as the parchment paper is covering 2 sides of your pan, you should be able to remove the cake later with no problems.  Bake for 45-60 minutes, until the center of the cake springs back when pressed. (Like Heidi, this took me about 55 minutes.)

Remove from oven and cool for 10 minutes on a baking rack. At this point, use the parchment paper to remove the cake from the pan, and let it cool completely by itself on the rack.

Store in the refrigerator. Texture will be denser when cold and more cake-like when brought up to room temperature.

Related Posts Plugin for WordPress, Blogger...

Filed Under: Quick Breads Tagged With: baking, butter & eggs, christmas

  • 1
  • 2
  • Next Page »

Welcome

Hi, I'm Erica! I'm a lover of all types of food, although I’m mostly vegetarian these days. I like salad, but I LOVE chocolate. This blog is a place where I try to balance the two.
Read More…

  • 
  • 
  • 
  • 
  • 

Subscribe via email

Get new posts delivered straight to your inbox!

Recipes by Category

Pumpkin Maple Pecan Bourbon Ice Cream (Vegan)
Chocolate SunButter Banana Ice Cream
Chocolate Cranberry-Walnut Clusters
Pomegranate Chili Sorbet

Archives

my foodgawker gallery
my healthy aperture gallery
View my Tasty Kitchen Profile

Connect

Hi, I'm Erica! I'm a lover of all types of food, although I’m mostly vegetarian these days. I like salad, but I LOVE chocolate. This blog is a place where I try to balance the two.

My Ultimate Avocado Toast | coffeeandquinoa.com
Herbed Tomato Soup with Cornbread Croutons | coffeeandquinoa.com
Our Wedding - Part Two | coffeeandquinoa.com
Blueberry Kale Stem Smoothie | coffeeandquinoa.com
Shredded Kale and Brussels Sprout Salad | coffeeandquinoa.com
Our Wedding 9.20.14 | coffeeandquinoa.com
  • 
  • 
  • 
  • 
  • 

Copyright © 2025 · Coffee & Quinoa · Site Design by Heather Mackan · Built on GenesisWP