Coffee & Quinoa

  • Home
  • About
  • Recipes
  • Links
  • Contact
You are here: Home / Archives for Home / Main Dishes

Grilled Portobellos with Meyer Lemon Pesto and Spinach

February 6, 2013 by Erica

Grilled Portobellos with Meyer Lemon Pesto and Spinach | coffeeandquinoa.com

Monday was all about cake. Not to give it away, but Friday is going to be all about cookies. And unlike Monday’s cake, Friday’s cookies contain absolutely zero vegetables. So let’s try to squeeze in some green stuff in the meantime, shall we?
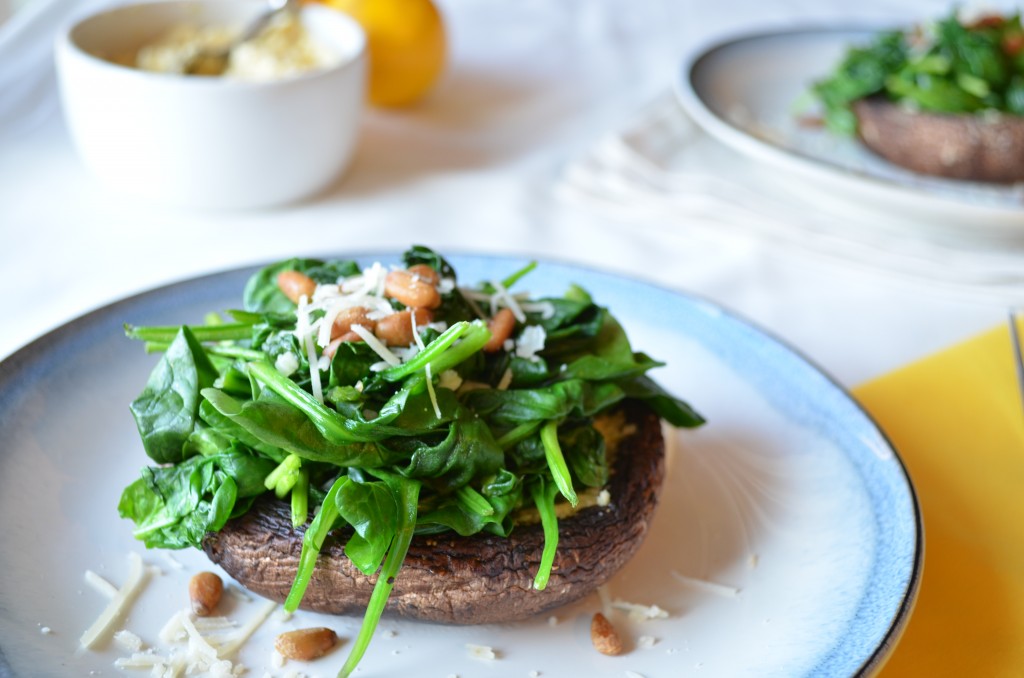
Grilled Portobellos with Meyer Lemon Pesto and Spinach | coffeeandquinoa.com

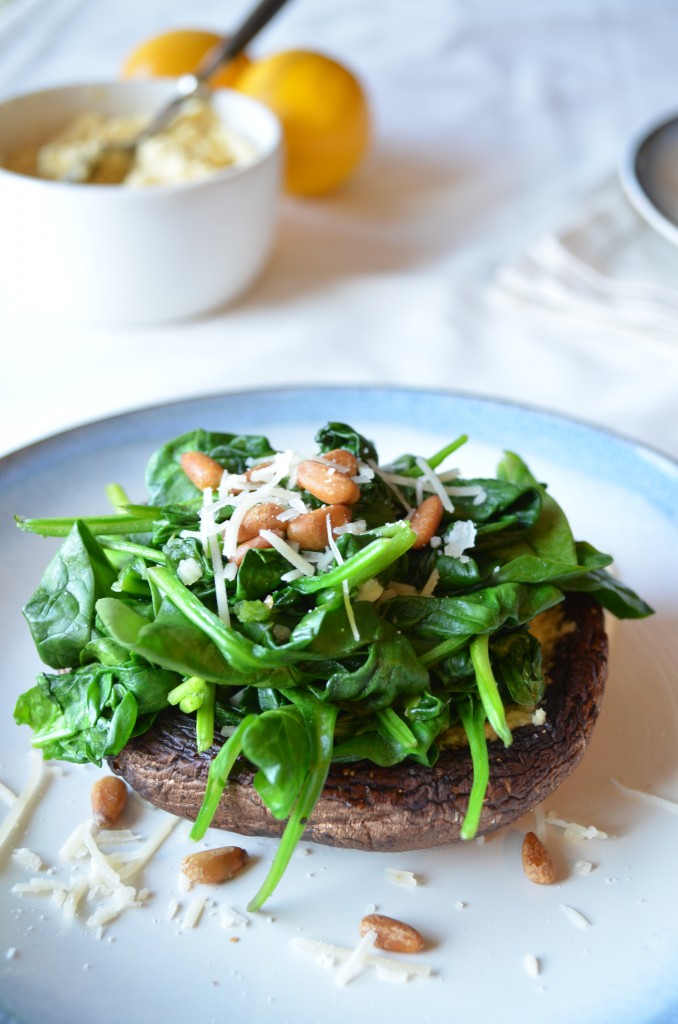
Look at all that spinach! I feel healthier already.

I don’t know about you, but I tend to do a lot of baking on the weekends. It’s what Nate calls my “wake and bake” (hah) – scones, cakes, muffins, etc. If we haven’t destroyed all the sweets by the time Sunday night rolls around, I try to bring them into work and pawn them off on my unsuspecting co-workers on Monday morning. They think I’m being generous, but really I’m just trying to get all the butter and sugar out of my house before I go back for more. By mid-week, I’m (hopefully) back to my healthy weekday routine of veggies, gym, and yoga.

And that’s where these portobellos come in! Last summer I discovered the portobello/pesto combination and fell in love. And while I eagerly await summertime basil (like, reeeeally eagerly), I figured I’d make a different but equally tasty citrus pesto.
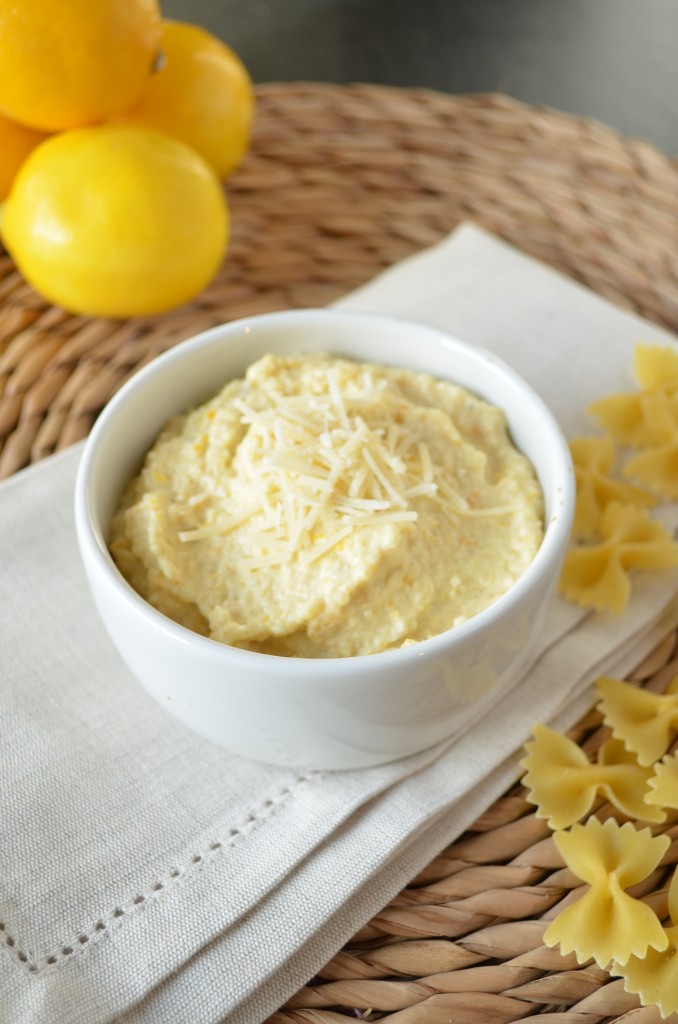
Grilled Portobellos with Meyer Lemon Pesto and Spinach | coffeeandquinoa.com

This was my first time using meyer lemons! My regular grocery store doesn’t have them, so I trudged out in a snowstorm the other day to pick some up from another nearby store. And I’ve have to say it was worth it! They are so pretty.
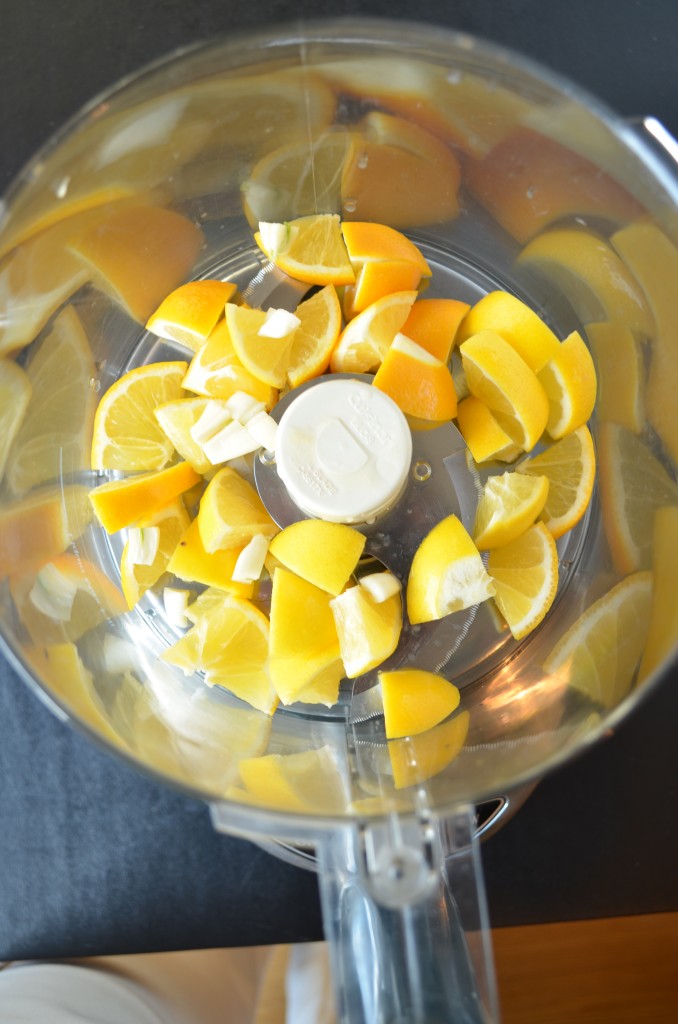
Grilled Portobellos with Meyer Lemon Pesto and Spinach | coffeeandquinoa.com

If you can’t find meyer lemons, you could use a regular lemon here. Because the rind is much thicker, though, I would probably suggest using only the juice and zest, instead of tossing whole chunks of regular lemon in.

For this dish, I spread a layer of lemon pesto on top of the grilled portobello, then topped with spinach and a sprinkling of parmesan and pine nuts. You could also add a quinoa layer (or combine it with the spinach) for a more filling dish. I haven’t tried it, but I’m sure it would be delicious!
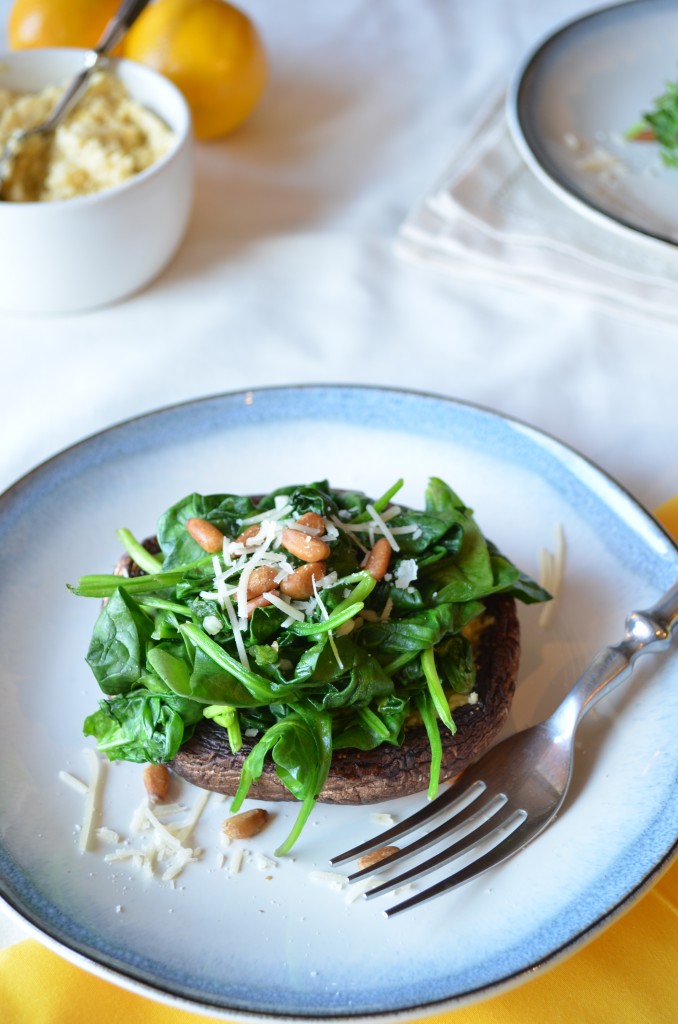
Grilled Portobellos with Meyer Lemon Pesto and Spinach | coffeeandquinoa.com

Grilled Portobellos with Meyer Lemon Pesto and Spinach

Serves 2 as an entree or 4 as a side

Ingredients:

For the meyer lemon pesto:

1 meyer lemon

1 small clove garlic

1 Tbsp olive oil

1/4 cup grated parmesan cheese

1/4 cup pine nuts

1/2 tsp honey

sprinkle of salt and pepper

For the grilled portobellos:

4 portobello mushrooms

olive oil

salt and pepper

2 small cloves garlic

10 oz. fresh spinach leaves

handful of toasted pine nuts

sprinkle of grated parmesan cheese

Instructions:

Preheat oven to 375. Break the stems off the portobello caps, and clean each cap with a damp paper towel. I prefer to leave the gills in, but you can scrape them out if you wish. Brush both sides lightly with olive oil and sprinkle with salt and pepper. Roast for 25 minutes with the gills facing up, then turn gills face down for another 5 minutes.

While the mushrooms are cooking, make the pesto. If using a meyer lemon, cut it into chunks and remove the seeds, then toss the entire chunks into the food processor. (If using a regular lemon, add only the zest and juice of the lemon to the food processor.) Blend with the rest of the pesto ingredients, scraping the sides with a spatula occasionally, until smooth.

Heat a large pan over medium heat. Add a tiny drizzle of olive oil. Once hot, saute the garlic for 30 seconds to a minute. Add the spinach, a few handfuls at a time, and saute until wilted and bright green.

To assemble, spread a layer of lemon pesto inside each mushroom. Pile 1/4 of the spinach into the mushroom cap and top with a sprinkle of extra parmesan and pine nuts.

Enjoy!

Time:

35 minutes
Filed Under: Dips & Spreads, Main Dishes, Vegetables, Vegetarian Tagged With: lemon, mushrooms, pesto, portobello, spinach

Vegan Three-Bean Chili

January 28, 2013 by Erica

Vegan Three-Bean Chili | coffeeandquinoa.com

Good morning.

It’s Monday.

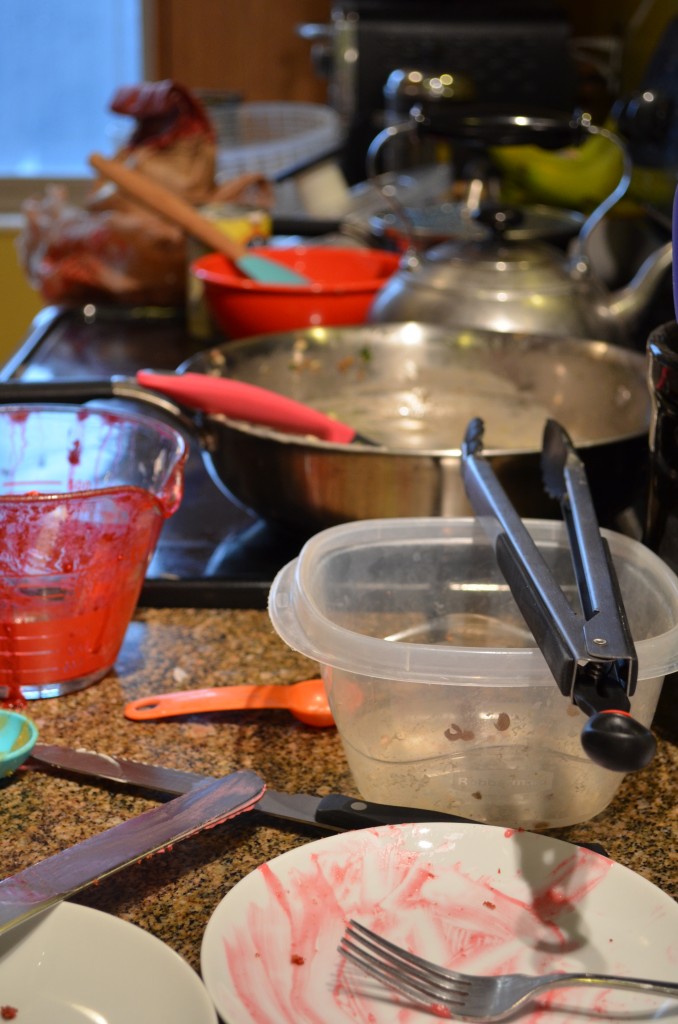
And I need another weekend to recover from my weekend. Because it looked something like this:

Vegan Three-Bean Chili | coffeeandquinoa.com

How exciting is my life when an “exhausting weekend” means I stayed in my apartment and cooked the whole time?

I’m 25, not 85, I swear.

I did get out this weekend, too – to hang out with some friends, get my snow tires put on (finallyyyy, and just in time for more snow!), and see a Sundance movie with Nate.

Vegan Three Bean Chili | coffeeandquinoa.com

But for the most part, I spent the weekend cooking. And it goes without saying that when I’m cooking, I’m also sampling the food I’m making. This weekend involved its fair share of sampling… as you may be able to tell from the kitchen photo above.

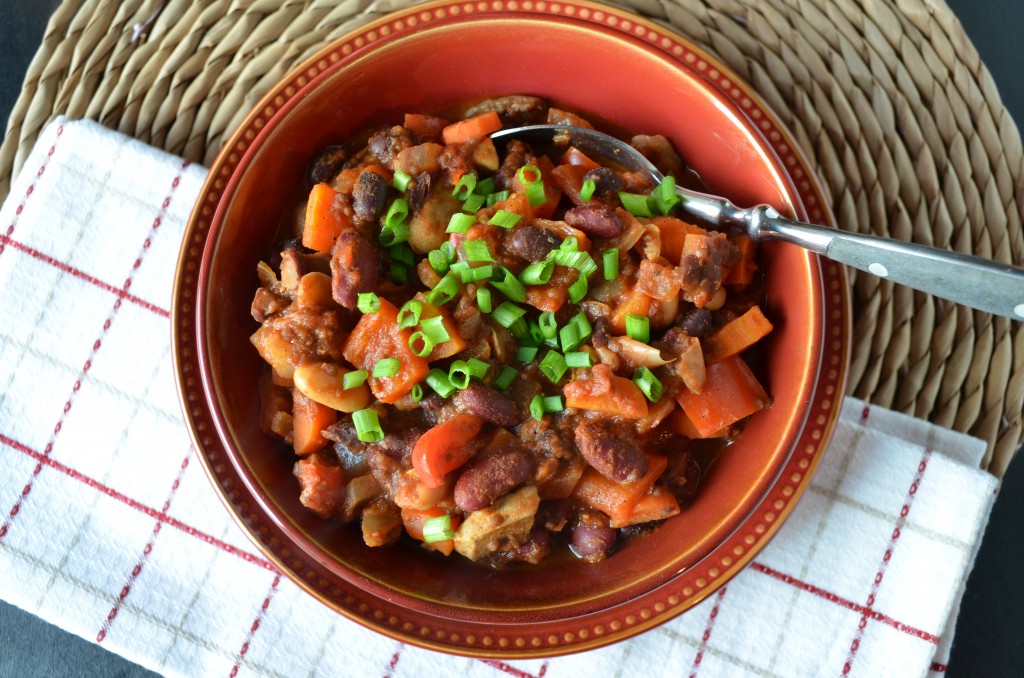
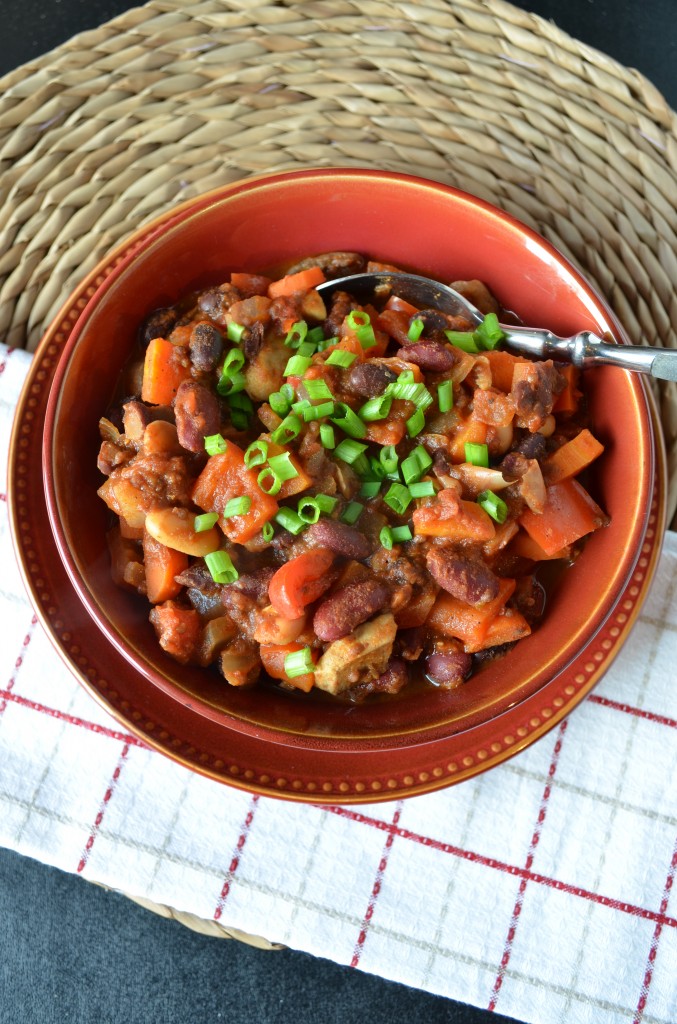
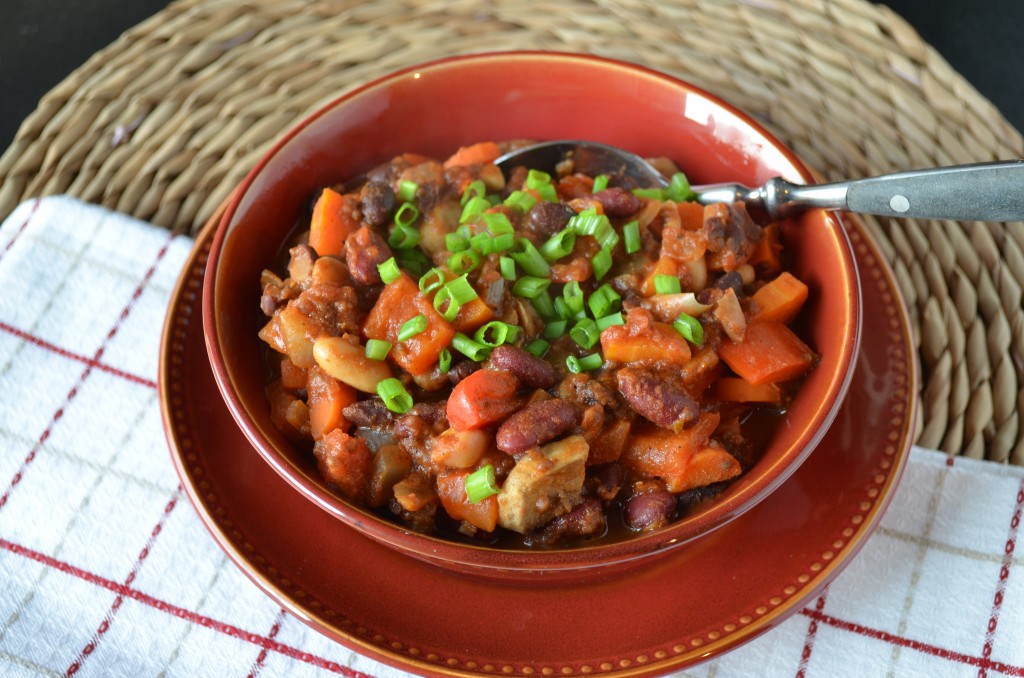
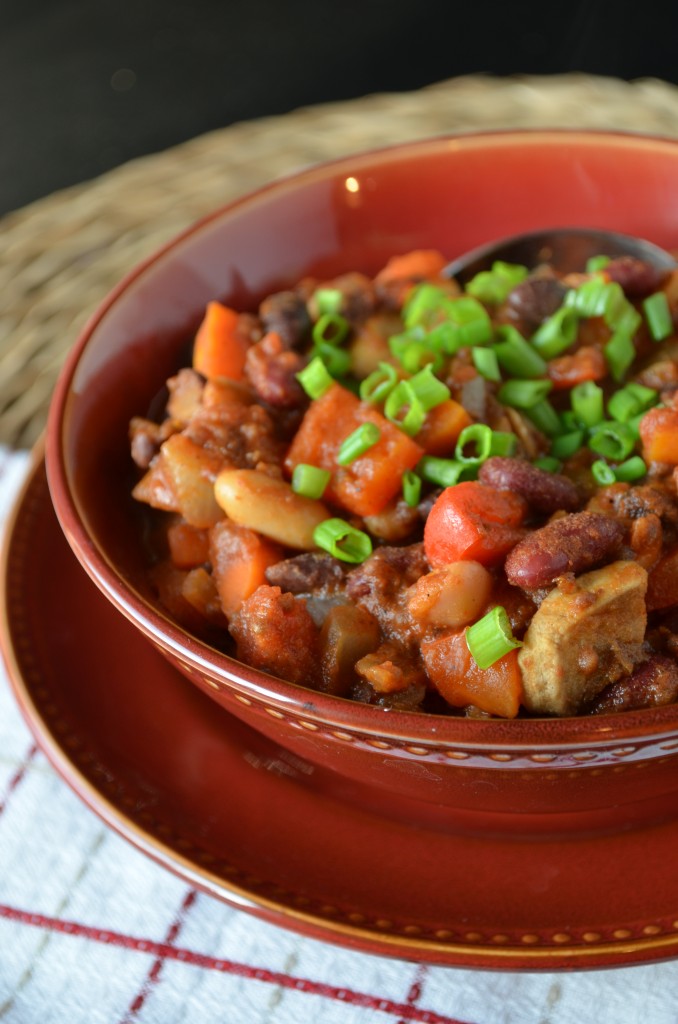
So I could use something healthy to start the week off with.  This vegan chili, chock full of veggies and three types of beans, is just what I have in mind.

Vegan Three-Bean Chili | coffeeandquinoa.com

There are many delicious chili recipes out there, but this is my favorite veg-based one. It has similar flavors to the ground beef chili I grew up with, but subs veggies and more beans for the beef.

This is not your simmer-all-day type of chili; it’s what I would call a weeknight chili, because it’s done in an hour start to finish. And more than half of that time is hands-off, with your chili bubbling on the stove while you come over and wash my dishes for me.

If chili is not what you’re craving on a Monday morning, just keep it in mind, because remember? Sunday is the Super Bowl. And chili is cheap, easy to make, and tastes even better reheated. The number of people you can feed with this is only limited by the size of your biggest pot.

Have a great start to your week!

Vegan Three-Bean Chili | coffeeandquinoa.com

Vegan Three-Bean Chili

Adapted from Oh She Glows

Serves 8-10

Ingredients:

1 Tbsp olive oil

3 garlic cloves, minced

1 yellow onion, diced

3 carrots, peeled and diced

2 red peppers, diced

16 oz. white mushrooms, sliced

1 14.5-oz. can black beans (low-sodium if possible)

1 14.5-oz. can kidney beans (low-sodium if possible)

1 14.5-oz. can cannellini beans (low-sodium if possible)

1 28-oz. can diced or crushed tomatoes in juice

juice of 1 lime

2 Tbsp chia seeds

3 Tbsp chili powder

1 Tbsp cumin

1 Tbsp unsweetened cocoa powder

2 tsp dried oregano

sprinkle of cayenne pepper

salt and pepper to taste

Instructions:

Heat olive oil in a large pot over medium heat. Add garlic and saute for 30 seconds. Add the onion, carrots, and bell peppers and saute for 5 minutes, stirring occasionally.

Stir in the rest of the ingredients, reduce heat to low, and simmer covered for 30-40 minutes.

Serve chili on its own, with rice, or over a potato for a hearty winter meal!

Time:

1 hour

Filed Under: Main Dishes, Vegan, Vegetarian Tagged With: beans, chili, football, winter favorites

Cauliflower Steaks with Charred Red Pepper Sauce and Lentils

January 25, 2013 by Erica

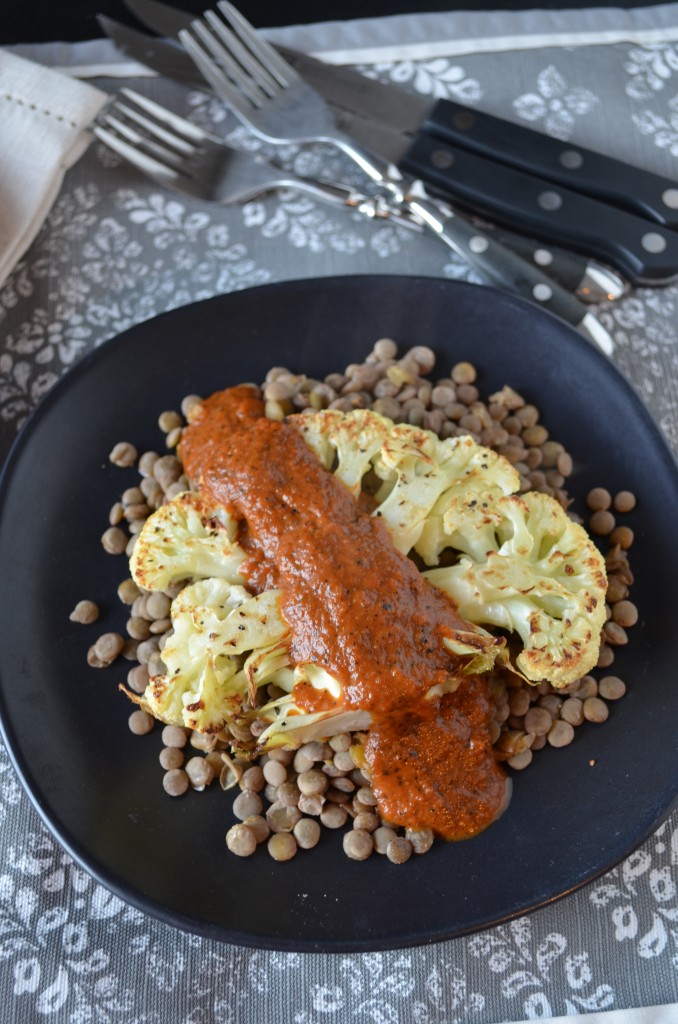
Cauliflower Steak with Lentils and Charred Red Pepper Steak Sauce | coffeeandquinoa.com

There was a time in the life of this blog – called December – when I felt like all I was posting were desserts and snacks. Crostini, popcorn, cake, hummus – I was posting some of my favorite recipes, but I wasn’t posting the healthy meals that I actually cook when I come home from work at night.

Oh, how the times have changed.

I guess that’s called January. And in January, I have posted a record number of healthy, savory recipes – noodle soup, chickpea tacos, even a salad. These are the things I really eat for dinner every night… at least in January. Give me a few more weeks and it’ll be big bowls of pasta and cheese, I’m sure. Actually, I’m definitely going to make some desserts this weekend. But for now, my intentions are good, and my posts are healthy!

Exhibit A:

Cauliflower Steak with Lentils and Charred Red Pepper Steak Sauce | coffeeandquinoa.com

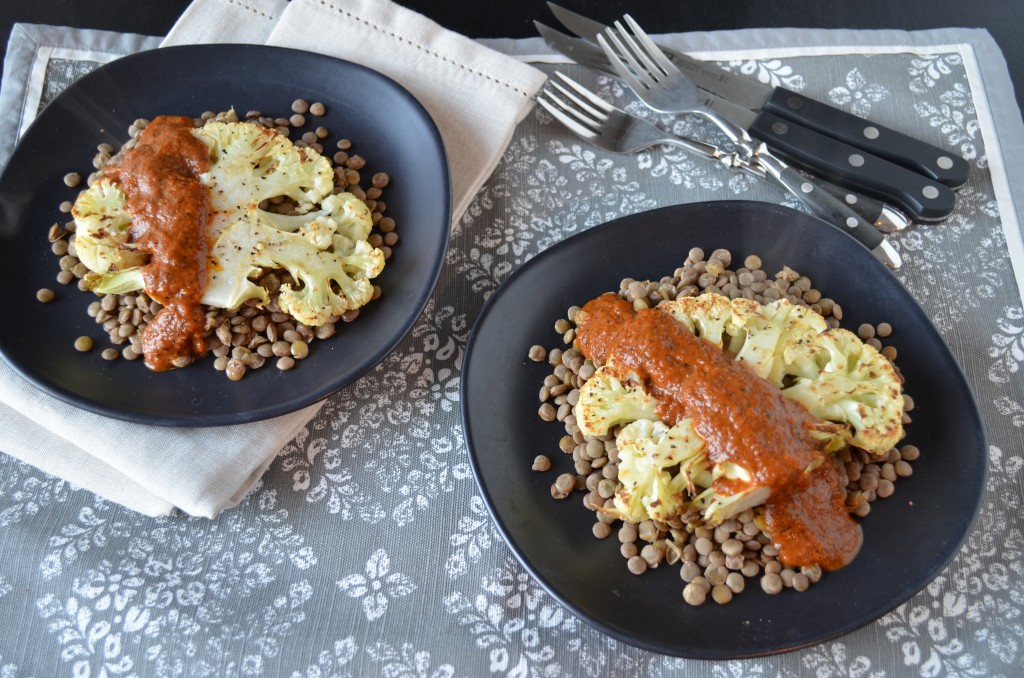
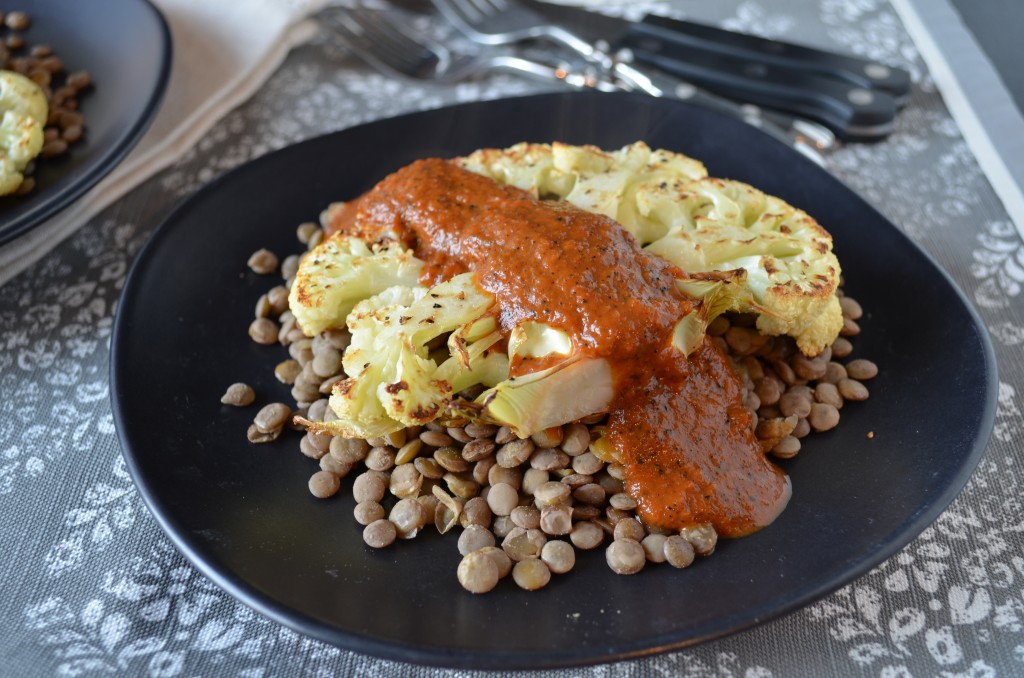
Roasted cauliflower “steaks” over lentils with an amazing charred red pepper “steak” sauce drizzled over the top. See the steam wafting up from those babies? I bet you’ll be home in time for dinner.

Cauliflower seems to be the new vegetable that everyone is pretending is meat. First came portobellos, of course, which I can understand. Now Pinterest is filled with cauliflower steaks. Any guesses as to what we’ll all be calling “steaks” in a few months? My bet is on the eggplant.

Today I’m hopping on the bandwagon, and as you can see, I really am pretending this is meat. I put steak sauce on it and ate it with a steak knife. These knives are like, the sharpest things in the world. They’re awesome but totally unnecessary here. I’ve been using them to cut grapefruit lately. And cauliflower… the other white meat.

Whatever you do, don’t skip this red pepper sauce! I don’t even care what you put it on… fake steaks, pasta, real steaks, pizza, whatever you like. It is out-of-this-world delicious, as Deb will tell you, and it really makes this meal! I made a double batch to ensure leftovers, and I will almost certainly be adapting it to a hearty pasta sauce soon. (As it is, I adapted Deb’s recipe to whatever I had in my pantry/fridge, which did not include Worcestershire sauce or orange juice. Feel free to check out the original recipe linked below.)

Have a fun and relaxing weekend, friends! I will be cooking and baking up a storm (typical) and attending one last Sundance film (my 4th of the week!). I already have another healthy entree lined up for you next week, and hopefully my experimenting this weekend will yield some yummy stuff, too!

Cauliflower Steak with Lentils and Charred Red Pepper Steak Sauce | coffeeandquinoa.com

Cauliflower Steaks with Lentils and Charred Red Pepper Steak Sauce

Steak sauce adapted slightly from the Tasting Table via Smitten Kitchen

Serves 2

Ingredients:

3/4 cup dried lentils

For the cauliflower steaks:

1 head cauliflower
1/2 Tbsp olive oil
sprinkle of salt and pepper

For the charred red pepper steak sauce:

1 red bell pepper
2/3 cup canned diced or crushed tomatoes in their juice
1 Tbsp lemon juice
1 Tbsp low-sodium soy sauce
2 Tbsp olive oil
1 Tbsp balsamic vinegar
1 Tbsp molasses
1 tsp mustard
1/2 tsp ground ginger
1/4 tsp ground black pepper
1/4 tsp onion powder
1/8 tsp allspice
kosher salt to taste

Instructions:

First, prepare the lentils. (I usually opt to do this the night before or earlier in the week to save time, and then just microwave them right before serving.) Rinse lentils in a strainer. Add to a small pot with 1 1/4 cups water. Bring to a boil and simmer until tender, about 40 minutes. Drain any remaining liquid.

Next, char the peppers. Preheat your broiler, position a rack near the top of the oven, and line a baking sheet with foil. I like to de-stem my peppers, scrape out the seeds, and cut them into 2-4 pieces before broiling. Just place them skin-side up on the baking sheet. Alternatively, you could broil them whole, turning occasionally, and de-stem and de-seed them afterwards. It should take you about 6 minutes to broil them. Check on them occasionally – most broilers are uneven, and you will probably need to rotate your pan halfway through. Remove your peppers from the baking sheet after broiling; you’ll need the baking sheet for the cauliflower. [Edit: Do not remove the pepper skins. You want to leave them on to get that nice charred flavor in your sauce.]

Preheat oven to 425. (If you have an oven thermometer, be sure to check it! Many ovens will say they are preheated after the broiler has been on, but the bottom of the oven is completely cold. If you don’t have an oven thermometer, just let the oven warm up for a few extra minutes.) Trim the outside leaves from your head of cauliflower. Place it stem down on a cutting board, and cut 4 1/2-inch “steaks” from the center of the cauliflower, the part that connects to the stem. You can also chop up the remaining hunks of cauliflower and roast them too, or you can save them for another use. (May I suggest leek and cauliflower potato skins?) You will probably have 2 really good steaks from the center that won’t fall apart at all, and two others that may fall apart a bit while cooking. That’s OK! Each person gets one nice steak and one that’s in pieces. :)

Place steaks on lined baking sheet. Brush each side with olive oil and sprinkle with salt and pepper. Roast until tender and golden on both sides, about 20 minutes, flipping once (gently!) around the 12-minute mark.

While the oven is preheating and the steaks are cooking, whip up the charred red pepper sauce. You’ve already charred the peppers, so you’ve got a head start. If you have an immersion blender, simply add all ingredients to a small pot and blend until smooth. If using a regular blender, add all ingredients and blend until smooth, then pour into a small pot. Simmer over low heat for 15 minutes, stirring occasionally. You can also let it go a little shorter or longer, basically until whenever the cauliflower is done. At this point, you can blend it again to get it extra smooth (easy if you have an immersion blender), or simply serve it as-is.

Serve immediately once cauliflower is done. Place the cauliflower steaks on top of a scoop of lentils, and ladle red pepper sauce over the top.

Enjoy!

Time:

45 minutes

Filed Under: Main Dishes, Vegan, Vegetarian Tagged With: bell pepper, cauliflower, lentils, steak

Taco Tuesday: Chickpea Tacos with Guacamole

January 22, 2013 by Erica

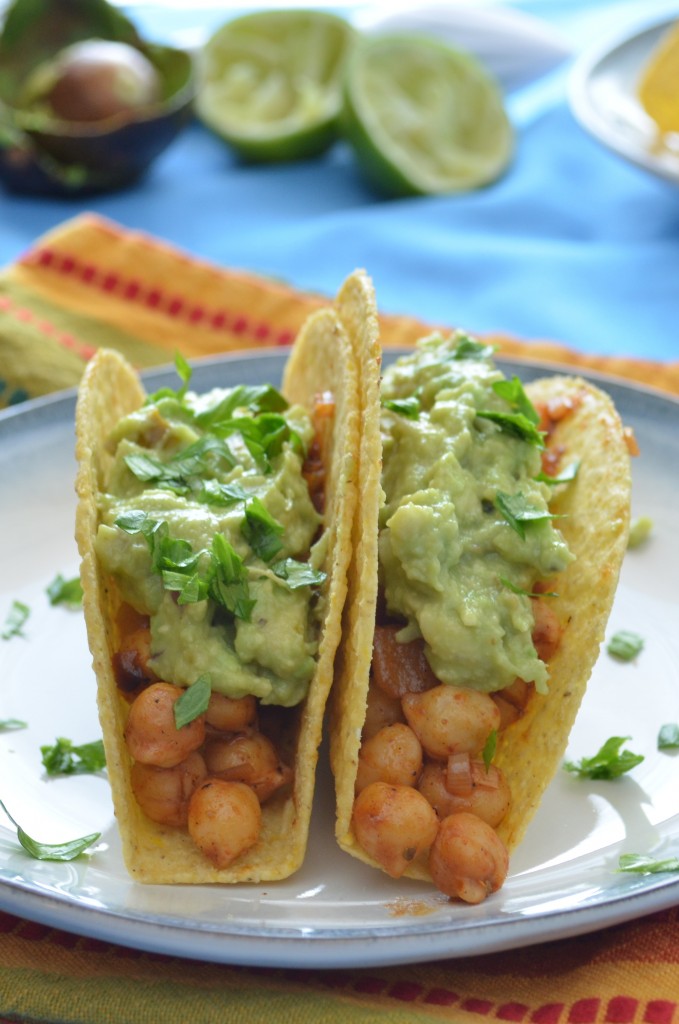
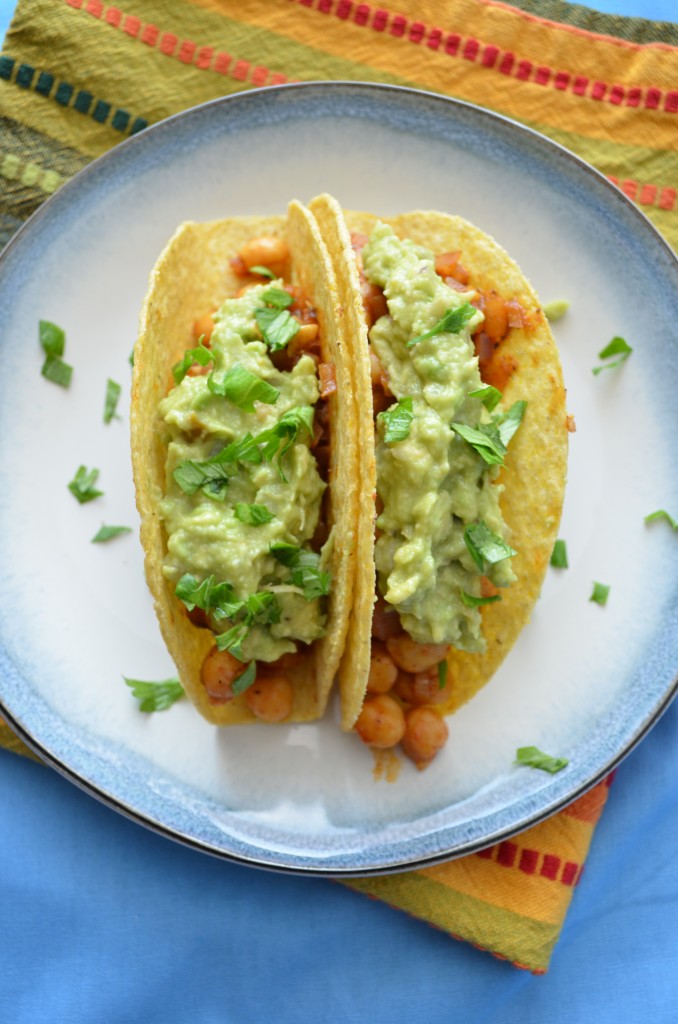
Chickpea Tacos with Guacamole | coffeeandquinoa.com

You know I had to post this on a Tuesday.

Who doesn’t remember Taco Tuesdays from their childhood or, in my case, their college dining hall? Everyone likes tacos, and in college, you could count on that taco bar every Tuesday for lunch. Like clockwork.

So it’s kind of a dilemma when you stop eating meat and dairy and all of a sudden… those ground beef tacos you’ve been eating for years are no longer an option, never mind the cheese and sour cream you used to top them with.

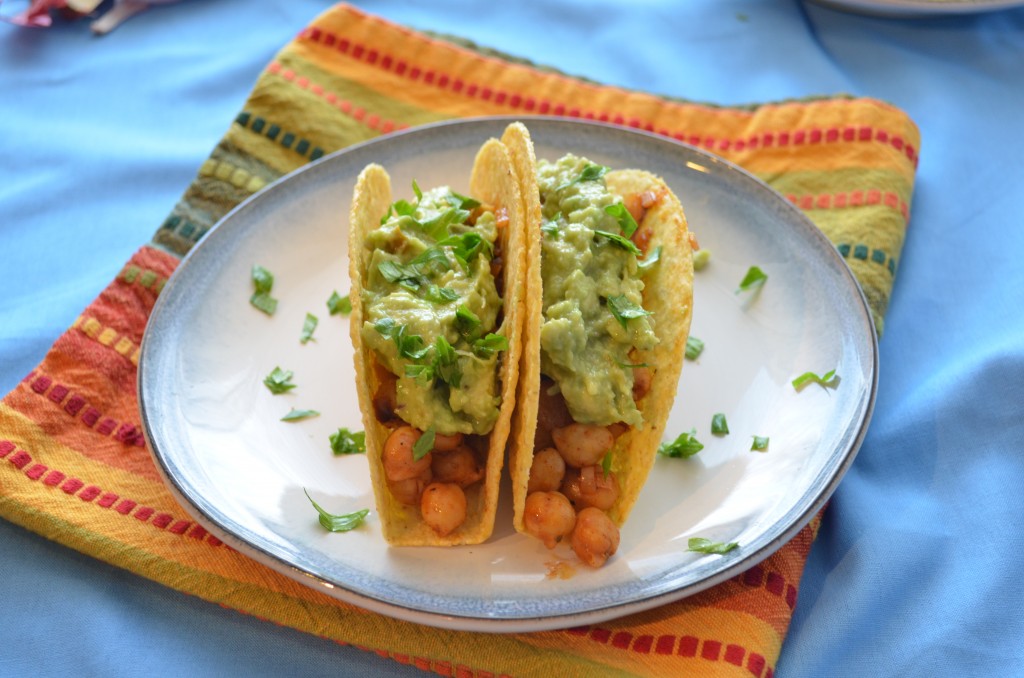
Chickpea Tacos with Guacamole | coffeeandquinoa.com

Grilled veggie tacos are a good option, and I’ll definitely do a post about those when summer vegetables are in season. But what about when you’re in the mood for a gold, old-fashioned, Old El Paso-style taco night? Diced tomatoes and shredded lettuce are just not gonna cut it.

After much experimentation, I discovered that chickpeas are the ideal substitute for beef or chicken when you want to use the same spices and toppings. And they’re still loaded with protein! Even though I’m eating (some) meat again now, I’m sticking with the chickpea tacos. They’re just too good to change!

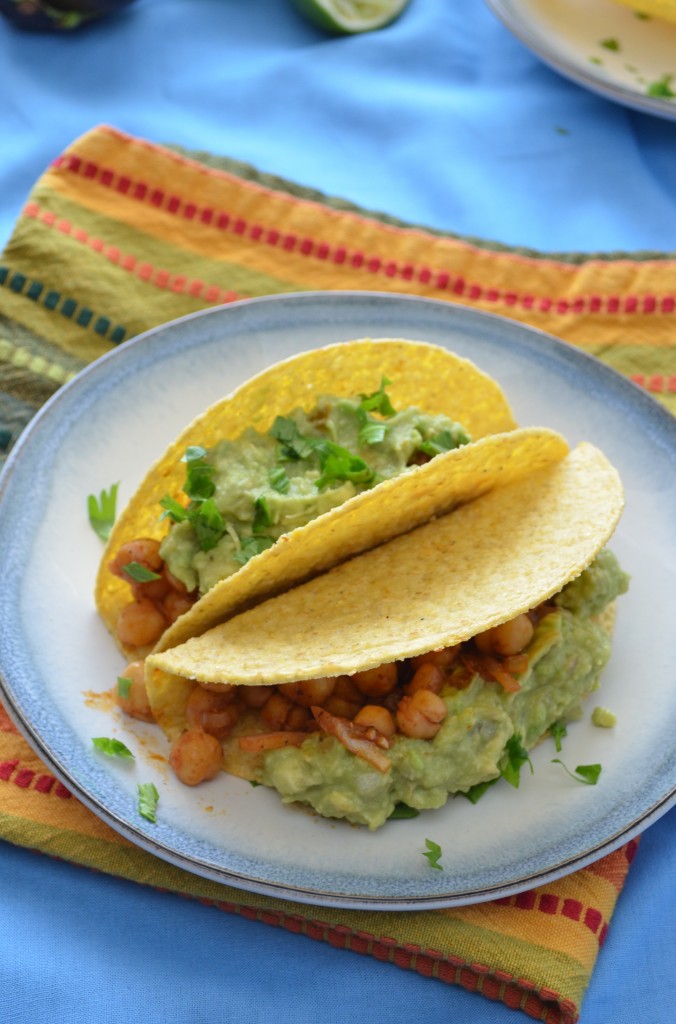
Chickpea Tacos with Guacamole | coffeeandquinoa.com

These are super easy to make if you’re hosting a taco night and also doing beef or chicken tacos. You make these exactly as you would make the beef or chicken ones, only they don’t take as long. So no extra work for you, and everyone’s happy!

Chickpea Tacos with Guacamole | coffeeandquinoa.com

I do have some words of wisdom for you in regard to these guys, especially if you usually make your tacos with meat:

– When sauteing the chickpeas, you are only trying to heat them through and evaporate some of the liquid from the spice mix. You actually want to avoid getting any color on them, because they get quite dry. So just get ‘em hot and they’re done.

– Top them with something creamy, like guacamole or sour cream. The added moisture works well, and it has the added bonus of keeping the chickpeas in place. Chickpeas are rolly polly little suckers, and they will exit your taco in a hurry. Mash some guacamole down on top of them – problem solved.

I wish all problems could be solved like that.

Chickpea Tacos with Guacamole | coffeeandquinoa.com


5.0 from 5 reviews
Taco Tuesday: Chickpea Tacos with Guacamole
 
Print
Hands-on time
10 mins
Cook time
10 mins
Total time
20 mins
 
This vegan taco recipe pleases both meat- and veg-eaters alike. Chickpeas make the ideal substitute for beef or chicken, and use the same taco seasoning.
Author: Erica
Yields: 6 medium-sized tacos
Ingredients
For the tacos:
  • 1 tsp olive oil
  • 1 clove garlic, minced
  • 1/4 red onion, minced
  • 1 1/2 cups cooked chickpeas (or 1 14-oz can, drained and rinsed)
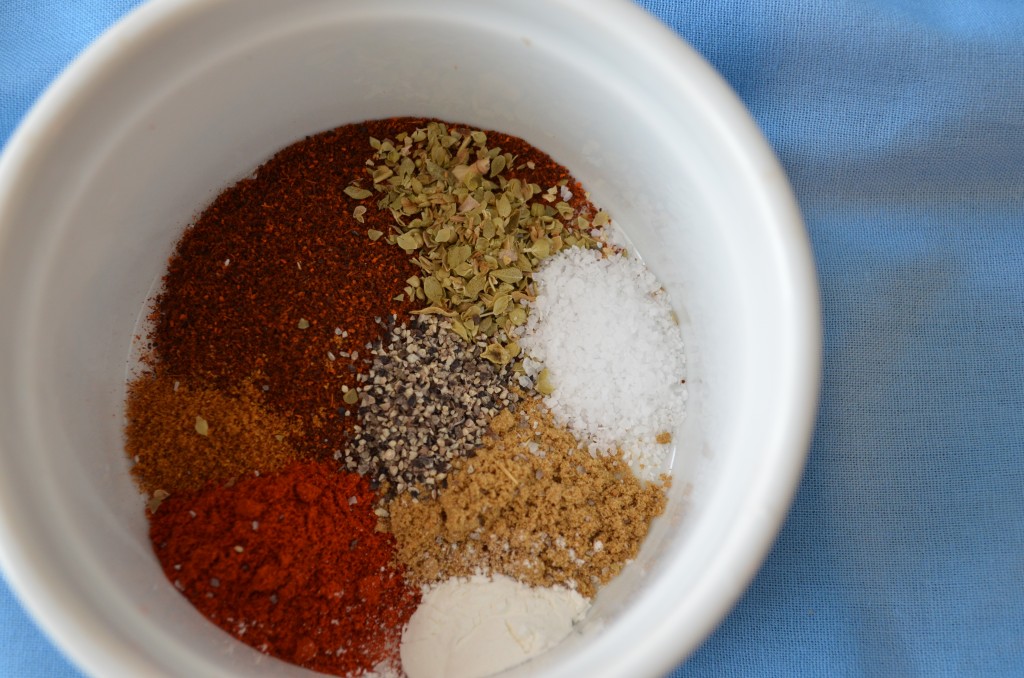
For the taco seasoning (or use 1/2 a packet of your favorite taco seasoning mix):
  • 1/2 Tbsp chili powder
  • 1/2 tsp smoked paprika
  • 1/2 tsp cumin
  • 1/4 tsp oregano
  • 1/4 tsp kosher salt
  • 1/4 tsp ground black pepper
  • 1/4 tsp cornstarch
  • 1/8 tsp cayenne pepper
  • 1/4 cup water
For serving:
  • 6 hard taco shells or medium-sized tortillas
  • 1/2 recipe Simple Guacamole
  • chopped cilantro
  • lime wedges
Instructions
  1. First, prepare the guacamole according to these instructions.
  2. In a small bowl, combine all taco seasoning ingredients, including water. The tacos come together quickly, so it's best to have this taken care of first!
  3. In a large pan, heat olive oil over medium heat. Once shimmering, add the garlic and onion and saute until onion is soft, 3-4 minutes.
  4. Pour in chickpeas and taco seasoning, and stir to combine. Saute, stirring occasionally, until chickpeas are heated through and some of the water is evaporated, 2-3 minutes.
  5. Serve alongside taco shells, guacamole, cilantro and lime wedges.
  6. Devour!
Notes
Taco seasoning adapted from Budget Bytes.
3.2.1753


Chickpea Tacos with Guacamole | coffeeandquinoa.com

Filed Under: Tacos & Wraps, Vegan, Vegetarian Tagged With: avocado, chickpeas, guacamole, mexican, tacos, vegan, vegetarian

Healthy Leek and Gruyere Sweet Potato Skins

January 16, 2013 by Erica

Healthy Leek and Gruyere Sweet Potato Skins

Potato skins are kind of my new thing.

You’ll see what I mean next week when I post another potato skin recipe!

But in the meantime, let’s focus on these guys.

Healthy Leek and Gruyere Sweet Potato Skins

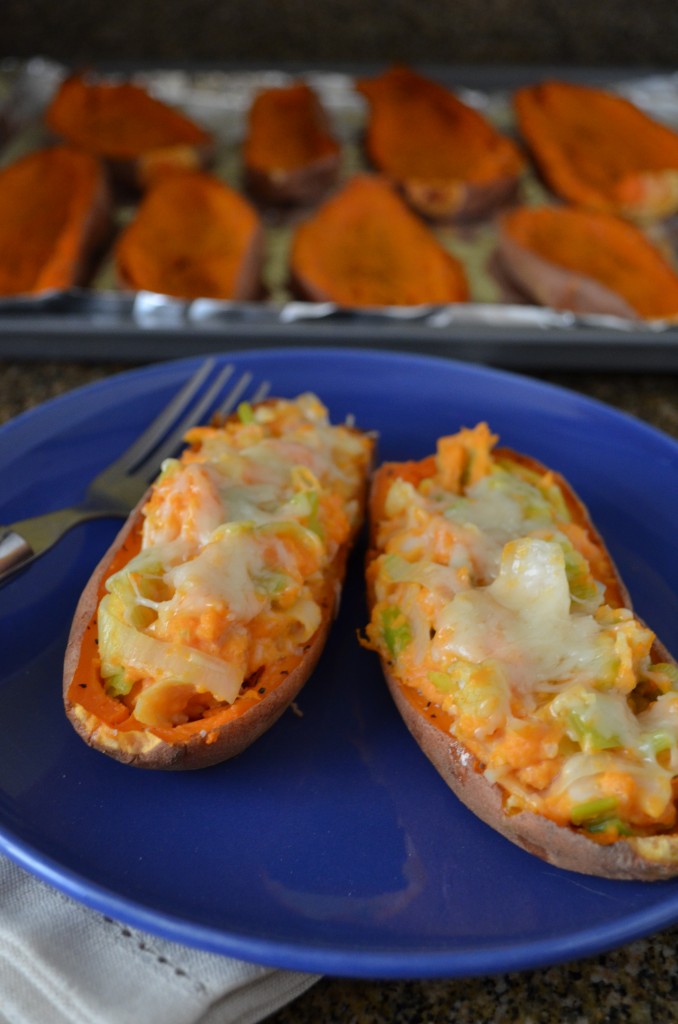
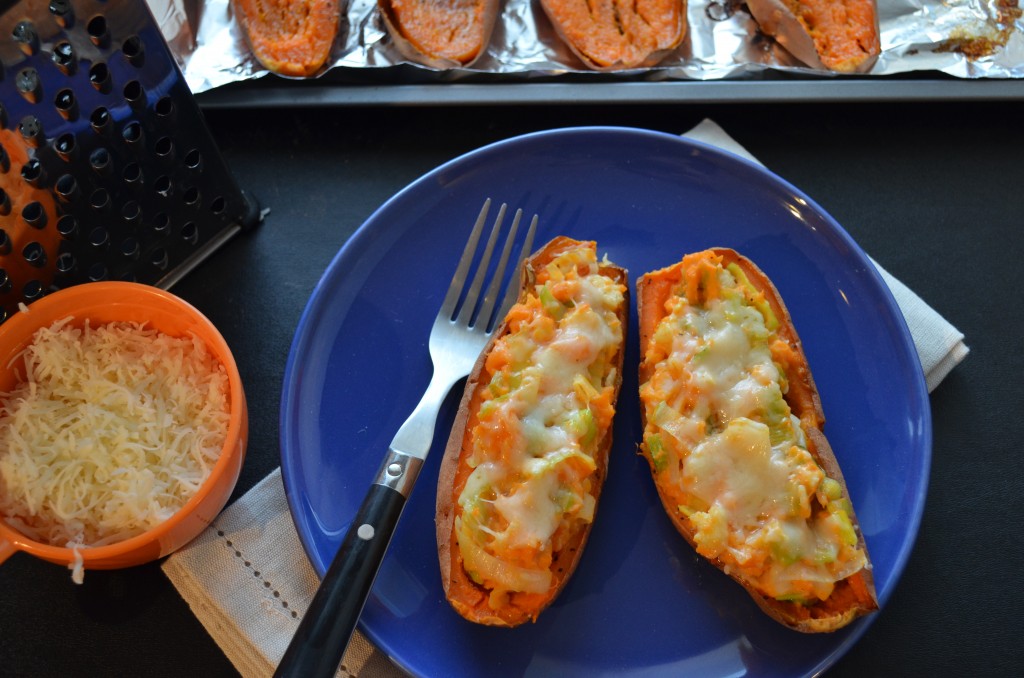
I want to call these football food, because I think you should make them this weekend (when you’re rooting for the Patriots, obviously). But you could make them for dinner just any old night.

Also, unlike most football food (“gameday bucket go boom,” anyone?), these are so good for you!

Healthy Leek and Gruyere Sweet Potato Skins

Healthy Leek and Gruyere Sweet Potato Skins

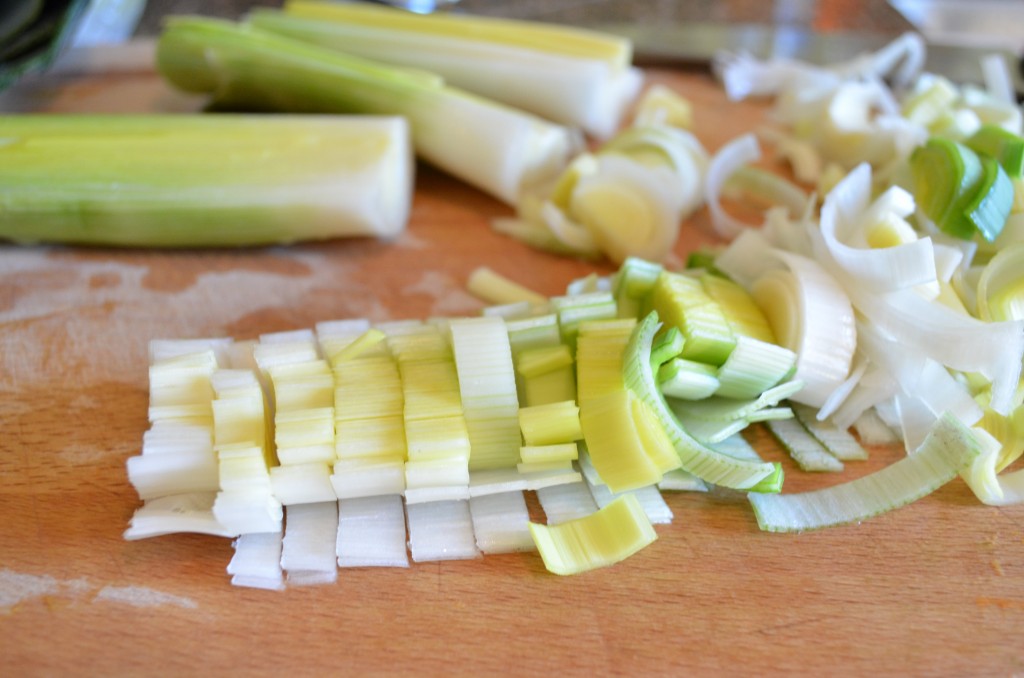
There’s nothing like some beautiful winter produce to get me excited to get in the kitchen.

Healthy Leek and Gruyere Sweet Potato Skins

These potato skins have just a handful of ingredients, and most of them are vegetables. But then, of course, I added some cheese. That’s how you get football fans to eat their veggies, you know.

Healthy Leek and Gruyere Potato Skins

A word of caution about the cheese, though: Gruyere is kind of stinky. It doesn’t actually taste at all stinky, it just smells kind of funky when these are being prepared and cooked. I didn’t mind it, but if you think you will, try using another sharp cheese, like white cheddar.

These totally hit the spot – perfect for a side dish or light veggie entree. Or a football game!

Healthy Leek and Gruyere Potato Skins

Healthy Leek and Gruyere Sweet Potato Skins

Serves 6 as an entree or 12 as a side

Ingredients:

6 small sweet potatoes

2 Tbsp olive oil + extra for baking the skins

3 leeks

3 cloves garlic, minced

2 cups finely chopped cauliflower (a bit less than half a head)

salt and pepper to taste

1/2 cup whipped cream cheese (or regular would work, too)

1 1/2 cups grated gruyere (the hunk I bought was 0.22 lbs)

Instructions:

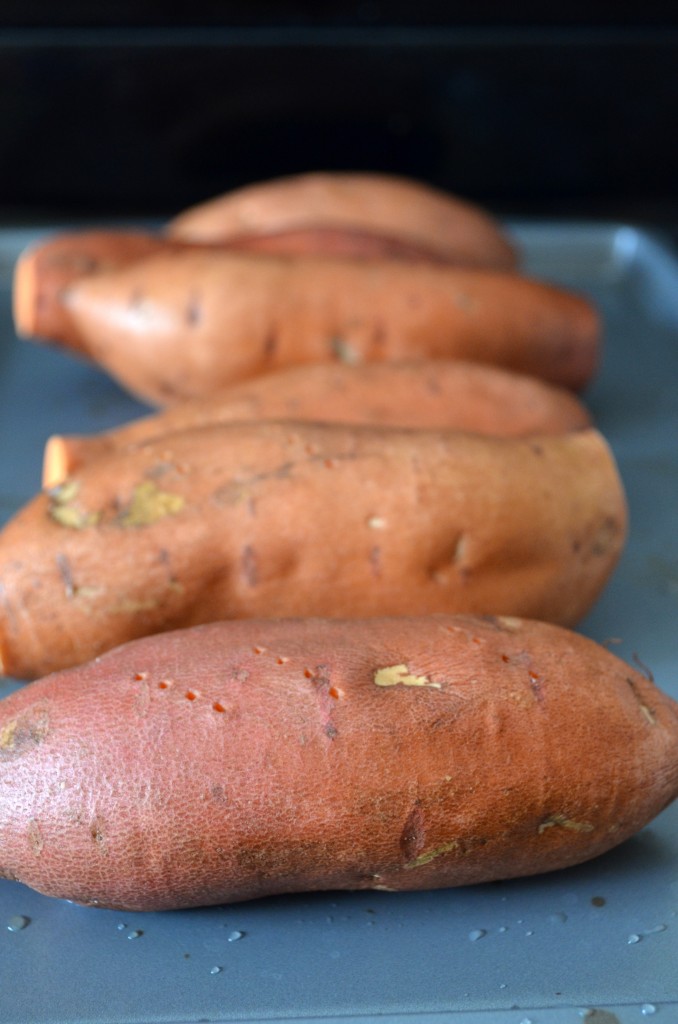
First, cook the sweet potatoes. Preheat oven to 375. Bake sweet potatoes until slightly squishy when squeezed with an oven mitt, about 75 minutes.

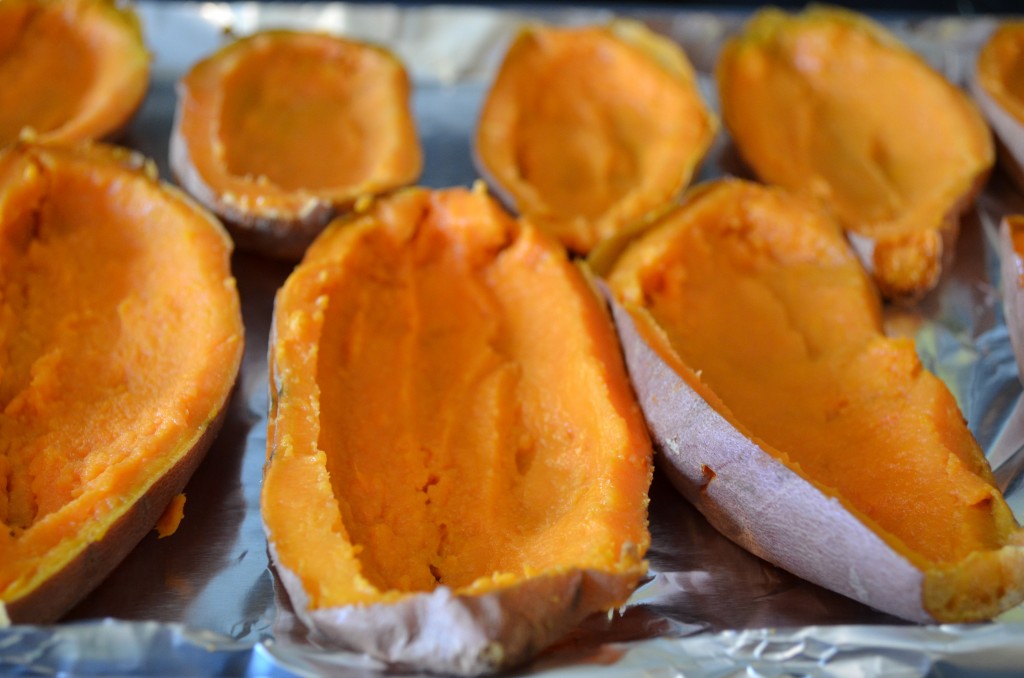
If you have time, I recommend refrigerating the sweet potatoes for an hour or two at this point, as they are easier to scoop out neatly when cold. If you don’t have the time, simply let cool for 10-15 minutes before proceeding.

Cut sweet potatoes in half and scoop out the insides out into a large bowl, leaving a small layer of sweet potato attached to each skin. I find that the easiest way to do this is to go around the sweet potato, marking a line about 1/4 inch from the skin with a spoon. Then I continue to scoop it out inside the lines. If you accidentally scoop all the way down to the bottom on part of your sweet potato, it’s no big deal – you can mush some sweet potato to cover it up with the back of your spoon. Set the bowl of sweet potato flesh aside.

Turn oven up to 450. Line a baking sheet with foil and spray it with cooking spray. (That part is important so your potato skins won’t stick!) Place the skins on the baking sheet, brush lightly with olive oil and sprinkle with salt and pepper. Bake at 450 for 15 minutes to get the skins crispier. (The insides of the potato will not get crispy like an Idaho potato would, though.)

In the meantime, prepare the filling. Trim leeks to just the white parts. Leeks collect lots of dirt in between the layers, so cut each leek in half the long way, and rinse thoroughly. Slice thinly.

Heat a large pan over medium-high heat. Add 2 Tbsp of olive oil. Once hot, add the leeks and saute for about 2 minutes. Add the garlic, saute for another minute, then add the cauliflower. Saute, stirring occasionally, until leeks and cauliflower soften, about 7 minutes. Season to taste with salt and pepper. Remove from the heat.

Mash together the sweet potato flesh and cream cheese. The sweet potato should be soft enough that you can do this with the back of a spoon. Add the leek and cauliflower mixture to the bowl and mix until well combined.

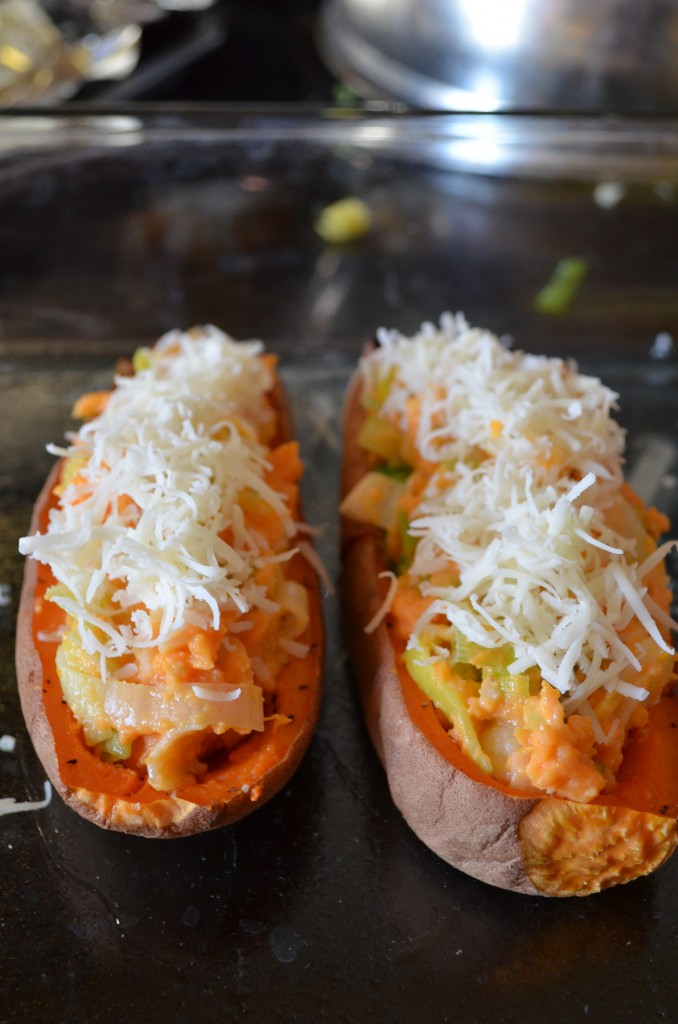
Time to assemble the potato skins! Scoop some of the sweet potato and leek mixture into each skin. Top with about 2 Tbsp of grated gruyere per skin.

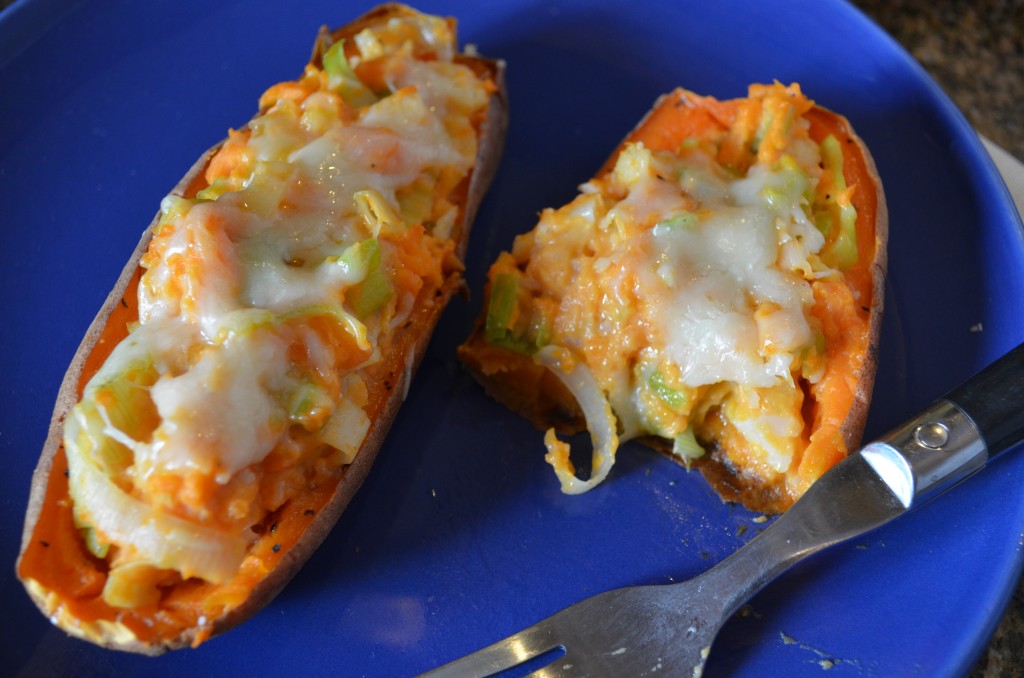
Finally, return the skins to the oven at 450 for 5 minutes, or until the cheese is melted.

Serve hot!

Time:

2 hours

Related Posts Plugin for WordPress, Blogger...

Filed Under: Main Dishes, Side Dishes, Vegetarian Tagged With: cauliflower, football, gruyere, leeks, potato skins, sweet potato, vegetarian

  • « Previous Page
  • 1
  • …
  • 11
  • 12
  • 13
  • 14
  • 15
  • Next Page »

Welcome

Hi, I'm Erica! I'm a lover of all types of food, although I’m mostly vegetarian these days. I like salad, but I LOVE chocolate. This blog is a place where I try to balance the two.
Read More…

  • 
  • 
  • 
  • 
  • 

Subscribe via email

Get new posts delivered straight to your inbox!

Recipes by Category

Pumpkin Maple Pecan Bourbon Ice Cream (Vegan)
whole foods trail mix cookies
Chocolate Cranberry-Walnut Clusters
Coconut Almond Fudge Crunch Ice Cream
Raspberry Coconut Tarts (Vegan & Almost Raw) // Coffee & Quinoa

Archives

my foodgawker gallery
my healthy aperture gallery
View my Tasty Kitchen Profile

Connect

Hi, I'm Erica! I'm a lover of all types of food, although I’m mostly vegetarian these days. I like salad, but I LOVE chocolate. This blog is a place where I try to balance the two.

My Ultimate Avocado Toast | coffeeandquinoa.com
Herbed Tomato Soup with Cornbread Croutons | coffeeandquinoa.com
Our Wedding - Part Two | coffeeandquinoa.com
Blueberry Kale Stem Smoothie | coffeeandquinoa.com
Shredded Kale and Brussels Sprout Salad | coffeeandquinoa.com
Our Wedding 9.20.14 | coffeeandquinoa.com
  • 
  • 
  • 
  • 
  • 

Copyright © 2026 · Coffee & Quinoa · Site Design by Heather Mackan · Built on GenesisWP