Coffee & Quinoa

  • Home
  • About
  • Recipes
  • Links
  • Contact
You are here: Home / Archives for Home

Celery Root Soup

February 1, 2013 by Erica

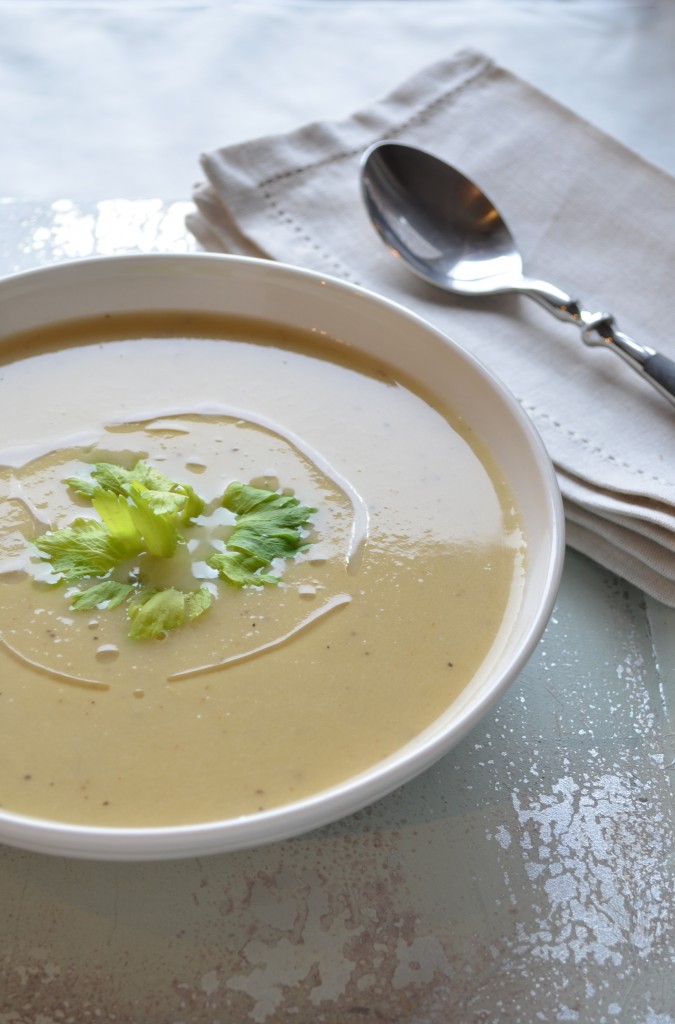
Celery Root Soup | coffeeandquinoa.com

Do you ever feel like the universe is trying to tell you something… and it’s about food?

Without warning, everywhere you look, you start seeing a certain ingredient. It’s on Facebook. It appears at the grocery store. It shows up on your favorite blogs. Co-workers start mentioning what they’ve made with it. Finally, although you had never even heard of it before a few weeks ago, you decide that you just can’t ignore its presence any longer and have to make a weekend project out of cooking with it.

Does that ever happen to you? No?

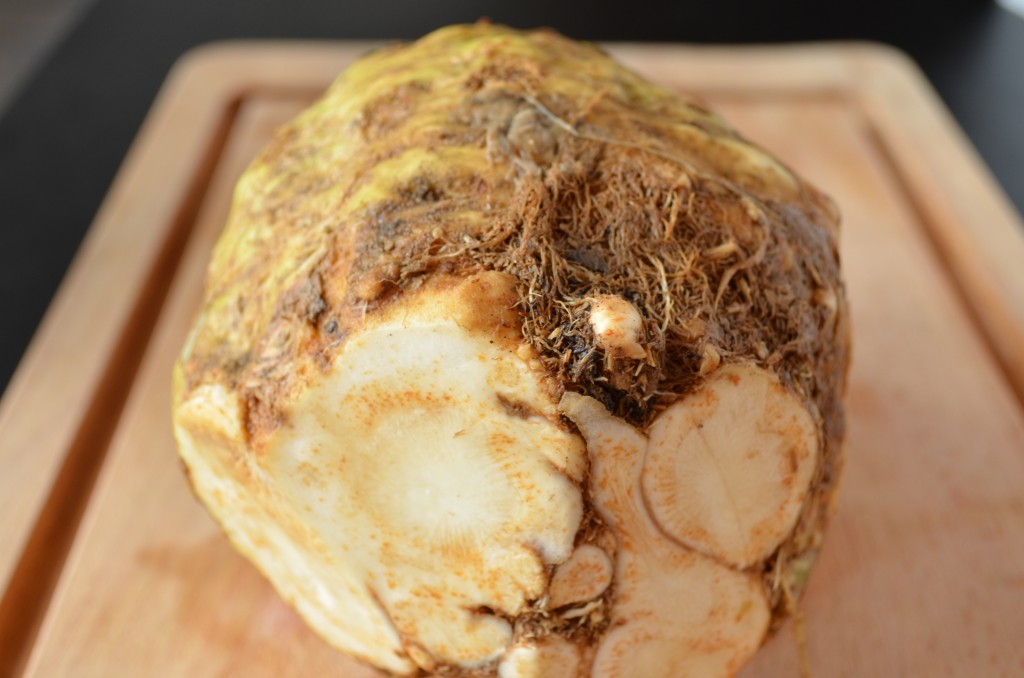
Well, it’s exactly what happened with me and this weird-ass root.
Celery Root Soup | coffeeandquinoa.com

Just look at this thing. I mean, there’s a reason it’s never made it onto my cutting board before this. Never mind the fact that I didn’t even know it existed.

But based on all the signs the universe has been sending me, the celery root and I are destined to be together.

So finally I went out and bought one. This was quite easy because, as I mentioned, my grocery store is displaying them prominently. But then the question remained: what do you do with this thing?
Celery Root Soup | coffeeandquinoa.com

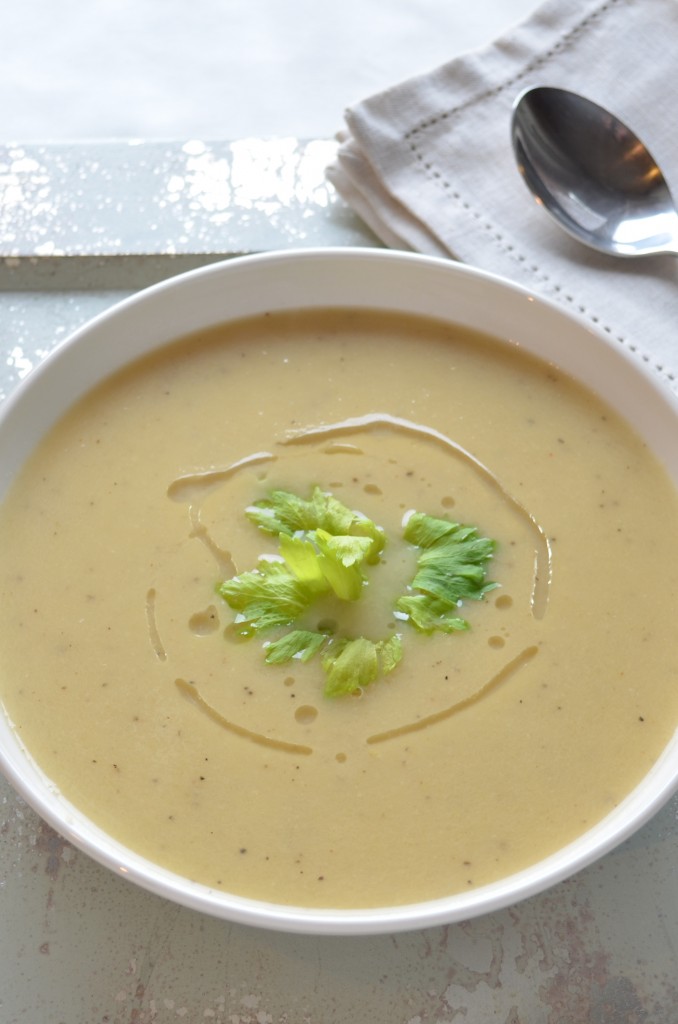
Turns out, you put it in a soup.

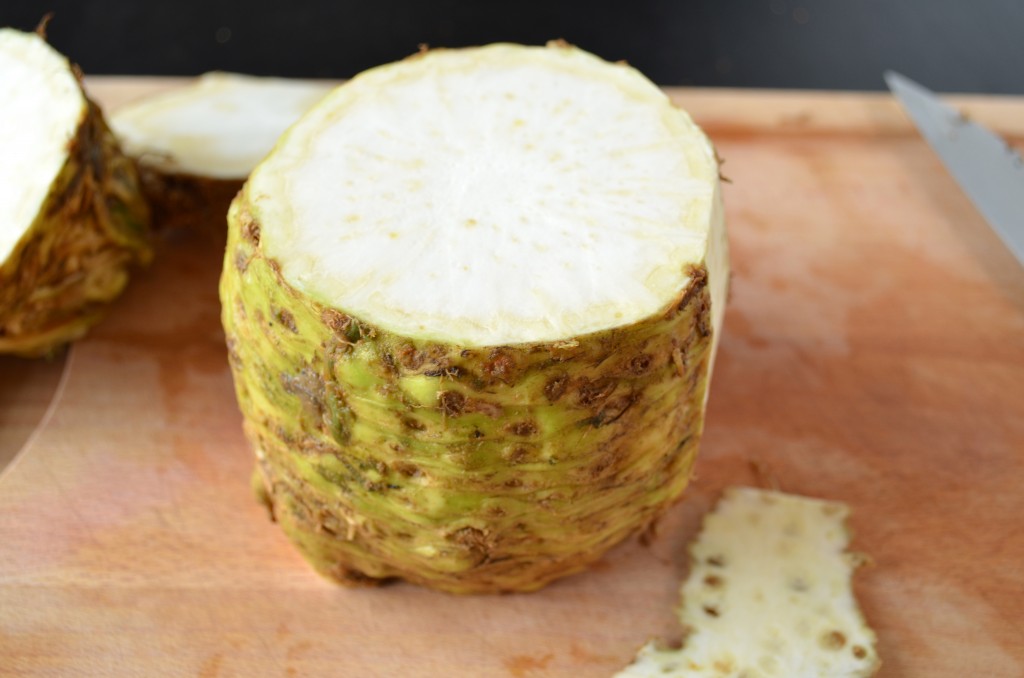
Well actually, first you hack it to pieces.
Celery Root Soup | coffeeandquinoa.com

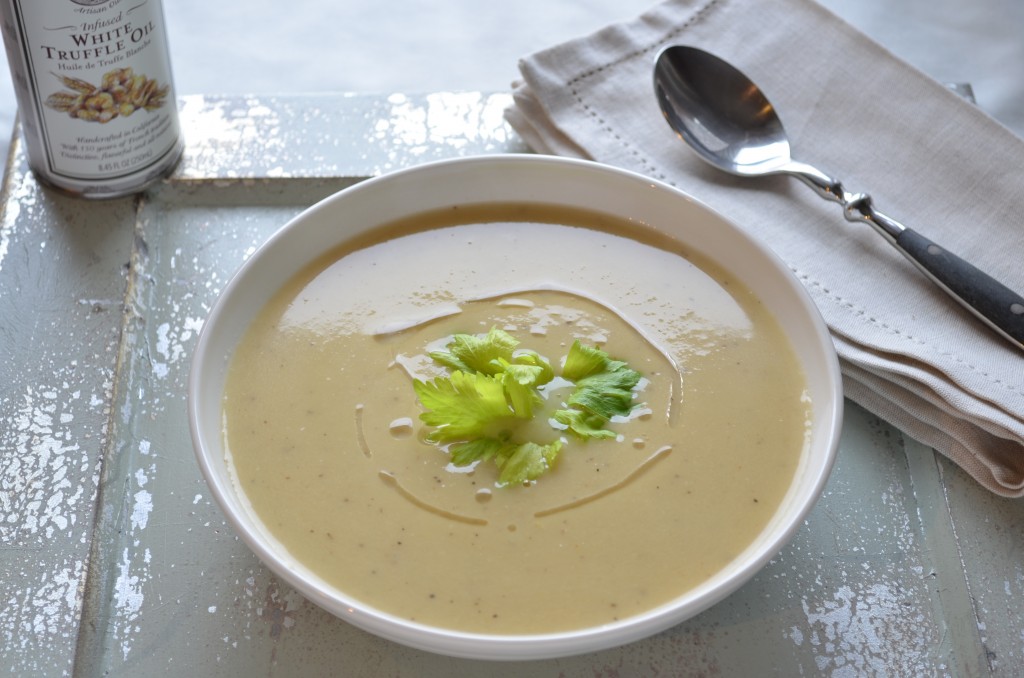
But then you put it in a soup. And drizzle it with truffle oil. And dip crusty hunks of bread in it. (Why did I not get some bread for these pictures? Food blogging lesson learned.) And then you get that comfy cozy feeling that comes from being warmed from the inside out.
Celery Root Soup | coffeeandquinoa.com

So maybe the celery root and I are destined to be together.

And maybe you two are destined for each other, too. Don’t worry, there’s enough to go around.
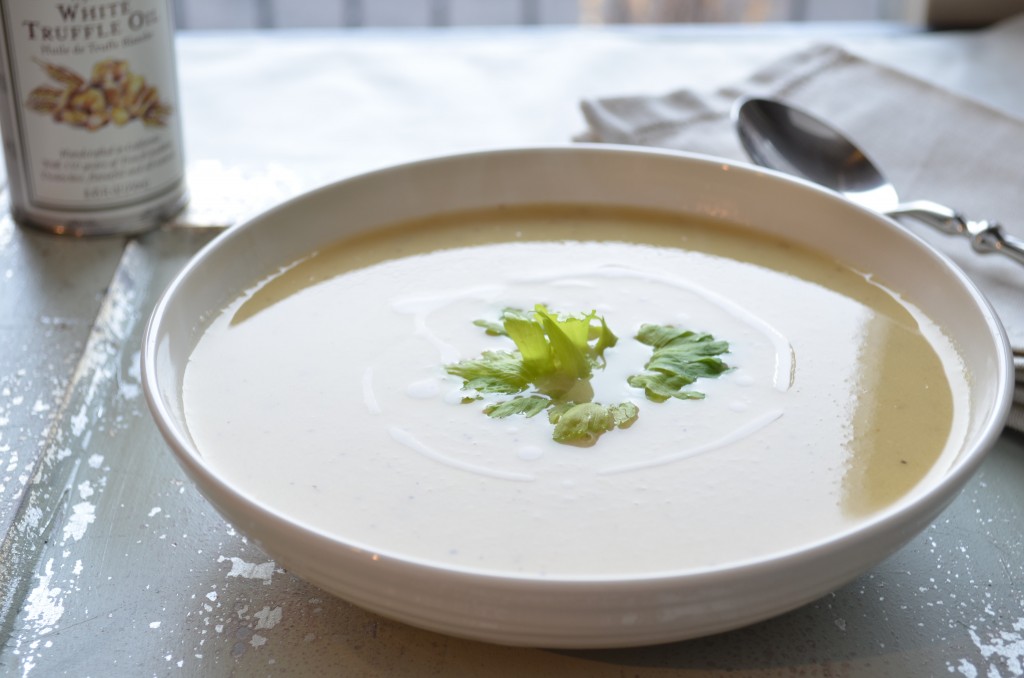
Celery Root Soup | coffeeandquinoa.com

If you haven’t met this soulmate of a root vegetable yet, let me tell you what to expect. Not surprisingly, it tastes like celery! Well, like that but more flavorful, and maybe a little more peppery. It has a texture close to a potato, but not as starchy. It has the same creaminess, but with an added delicious flavor. Overall, it has everything I could want in a wintertime soup. I liked this much more than any potato leek soup I’ve ever tried, and I can definitely imagine making a vegetable soup or stew with chunks of celery root in it.

So… you and the celery root. Together forever.

Consider this your sign from the universe.
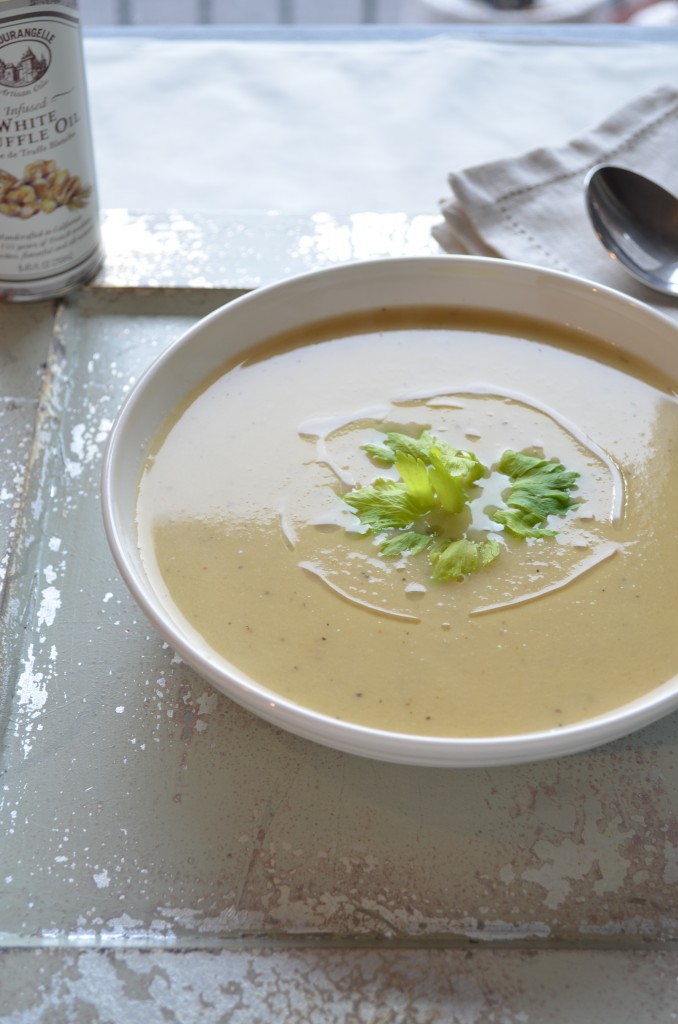
Celery Root Soup | coffeeandquinoa.com

Celery Root Soup

Adapted from David Lebovitz

Serves 4-6

Ingredients:

2 Tbsp butter or margarine
2 Tbsp olive oil
3 leeks, cleaned and chopped
3 garlic cloves, minced
kosher salt to taste
4 lbs celery root (I used 1 large plus 1 small)
5 cups vegetable stock made without tomatoes, such as Whole Foods 365 (or chicken stock)
2 cups water (reduce to 1 cup for a thicker soup)
1 1/2 tsp black pepper
scant 1/8 tsp chile powder
truffle oil or olive oil for serving (optional)

Instructions:

First of all, peel and chop the celery root. Here is a tutorial from The Kitchn on how to peel a celery root. It’s really not as hard as you think it will be. Once you’ve got that done, you can move on to the next step! My 4 lbs of celery root turned into about 7 cups when chopped.

Melt the butter and olive oil in a large pot over medium heat. Once hot, add leeks and saute for about 5 minutes, stirring frequently. Do not let the leeks brown at all; turn down the heat if they start to. Add the garlic cloves and a pinch of salt and continuing sauteing until both the leeks and garlic are soft and translucent, another few minutes.

Add the celery root, vegetable stock, and water. Cover, bring to a boil, and then reduce to what David Lebovitz calls a “strong simmer.” Simmer until the celery root is tender. (A fork should slide easily to the center of a cube when pierced.) This will depend on the size of your cubes, but took me about 25 minutes.

Once celery root is tender, add the pepper and chili powder. Puree using an immersion blender (or in batches in a regular blender) until the soup is smooth with no remaining chunks. Add more salt as desired.

Serve hot with a drizzle of truffle or olive oil and a side of rustic bread.

Enjoy!

Time:

45 minutes to an hour

Filed Under: Soups Tagged With: celery root, leeks, soup

Fat Cherry and Almond Scones

January 30, 2013 by Erica

Fat Cherry Scones | coffeeandquinoa.com

You’ve been so good lately.

Eating your green stuff.

Subbing beans for meat in your favorite dinners.

Even making steaks out of vegetables.

So maybe… just this once… you could be a little bit bad?

Fat Cherry Scones | coffeeandquinoa.com

You won’t regret it, I promise.

Fat Cherry Scones | coffeeandquinoa.com

Fat Cherry Scones | coffeeandquinoa.com

Fat Cherry Scones | coffeeandquinoa.com

I’ve been wanting to post a scone recipe on this site for quite some time. I don’t think I’ve ever met a scone I didn’t like.

And homemade scones are way better than bakery scones – trust me if you’ve never made them. At a bakery, the scones have been sitting around for about 6 hours before you get there, and they always seem to have dried out.

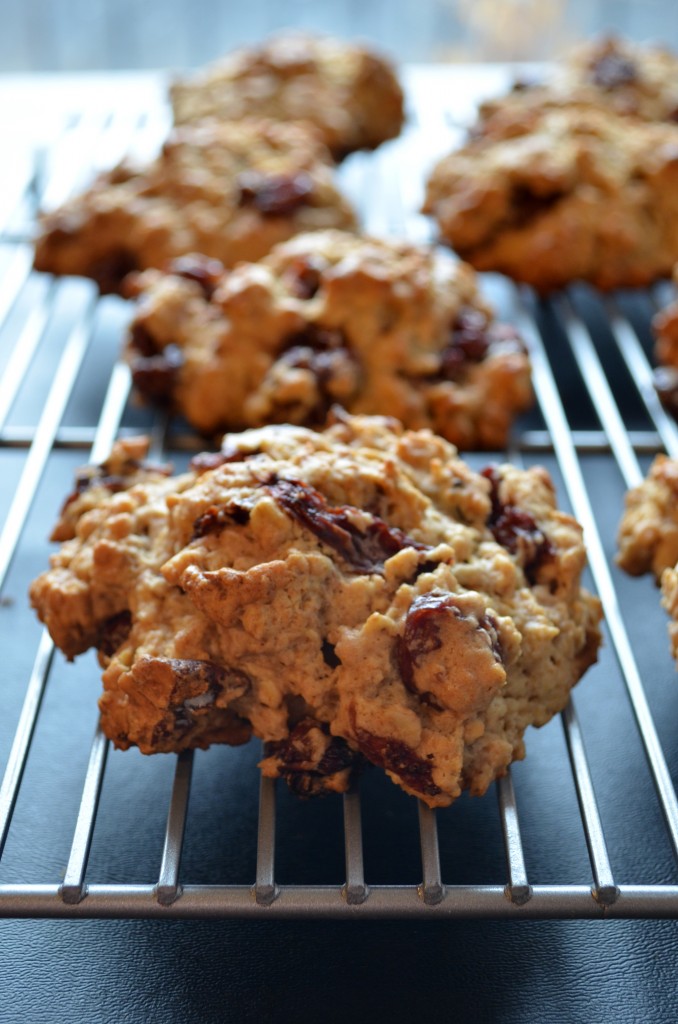
These, my friends, are not dry.

Fat Cherry Scones | coffeeandquinoa.com

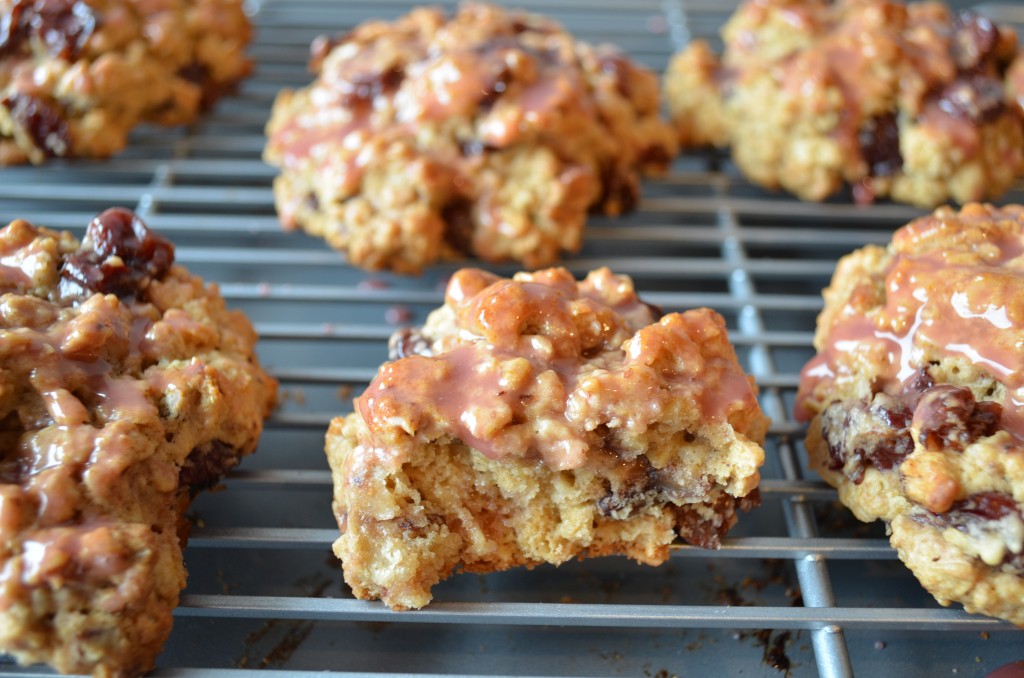
In fact I got the name for these scones, “fat cherry,” from a kind of cookie my mom makes around Christmastime. Fat raisin cookies are apparently Bill Clinton’s favorite (or at least they were before he was vegan!), and the Boston Globe has shared the recipe for them a few times. They are basically an oatmeal raisin cookie with the raisins soaked in rum, which plumps them up and adds juicy flavor.

And why not do the same thing with tart dried cherries and stuff them in a scone?

Like I said: not dry. In any sense of the word.

Except I don’t much care for rum (or any other liqueur, for that matter), so I plumped up these cherries with tart cherry juice and almond extract. If you want boozy scones… slow down lady, it’s breakfast! Just kidding, I’m sure it’s 5 o’clock somewhere. You can soak your cherries in kirsch or amaretto if that sounds good to you.

What better treat to wake up to on Valentine’s Day morning – or any morning, for that matter – than these luscious cherry and almond scones?

Fat Cherry Scones | coffeeandquinoa.com

Fat Cherry and Almond Scones

Makes 8 scones

Ingredients:

For the scones:
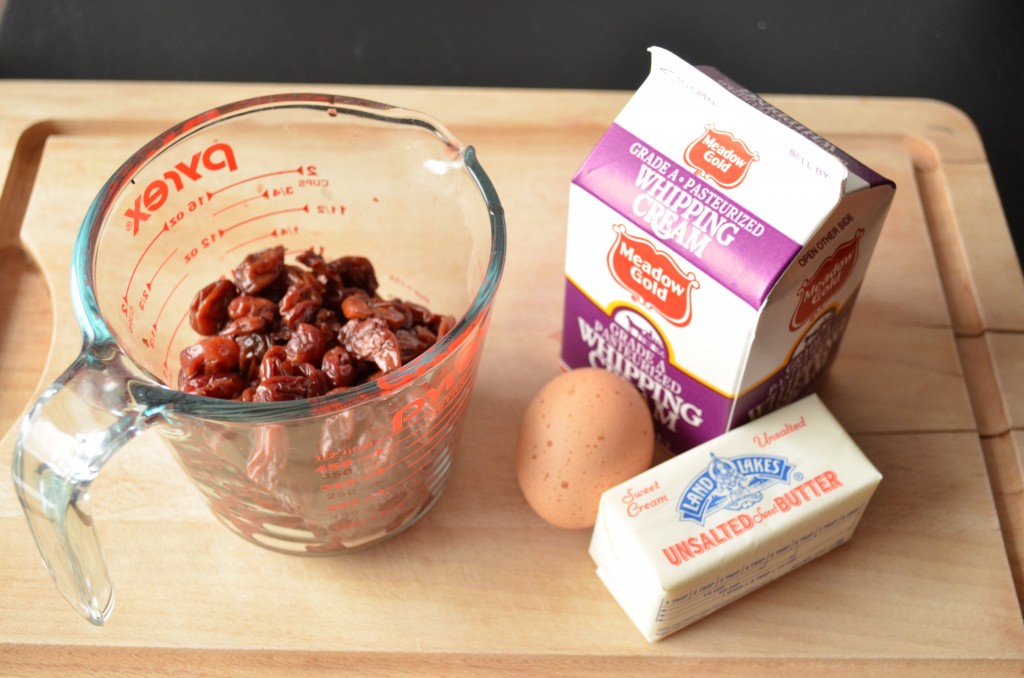
1 cup tart cherry juice
1 tsp almond extract
1 cup dried cherries
1 ½ cups all purpose flour
1 ¼ cups old-fashioned oats
1 ½ tsp baking powder
¼ tsp baking soda
¼ tsp kosher salt
½ cup raw almonds, lightly toasted and chopped
½ cup (1 stick) cold unsalted butter, cut into small pieces
¼ cup cold heavy cream
½ cup maple syrup
1 cold egg

For the glaze (optional):
1 cup confectioner’s sugar
3 Tbsp tart cherry juice

Instructions:

In a small saucepan, bring cherry juice and almond extract to a boil. Remove from heat, add cherries, and cover. Refrigerate at least an hour, and up to overnight, before proceeding.

Preheat oven to 350 and position a rack in the center of the oven.

In a large bowl, stir together the flour, oats, baking powder, baking soda, and salt. Sprinkle the pieces of butter over the top. With your fingers or a pastry cutter, work the butter into the flour mixture until no large chunks remain.

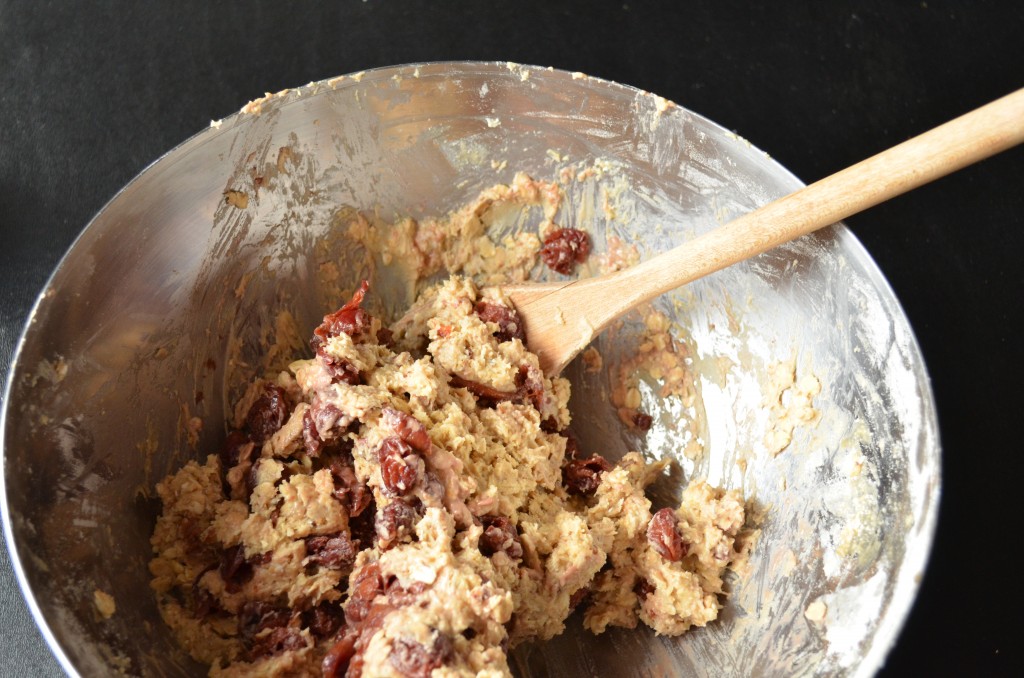
In a small bowl, whisk together the cream, maple syrup, and egg. (I like to stick the bowl of dry ingredients and butter in the freezer while I do this, to make sure they don’t start to warm up.) Pour into the flour mixture and mix until just combined.

Drain the cherries and stir them into the batter along with the toasted almonds.

If you’ve come this far without licking batter off your fingers or the spoon… well, you have much more self control than I do.

Drop mounded scoops of dough onto a baking sheet (unlined is fine) with at least an inch in between. (The scones won’t spread much, but better safe than sorry!) Bake at 350 for about 25 minutes, until golden brown. Gently transfer to a wire rack to cool completely.

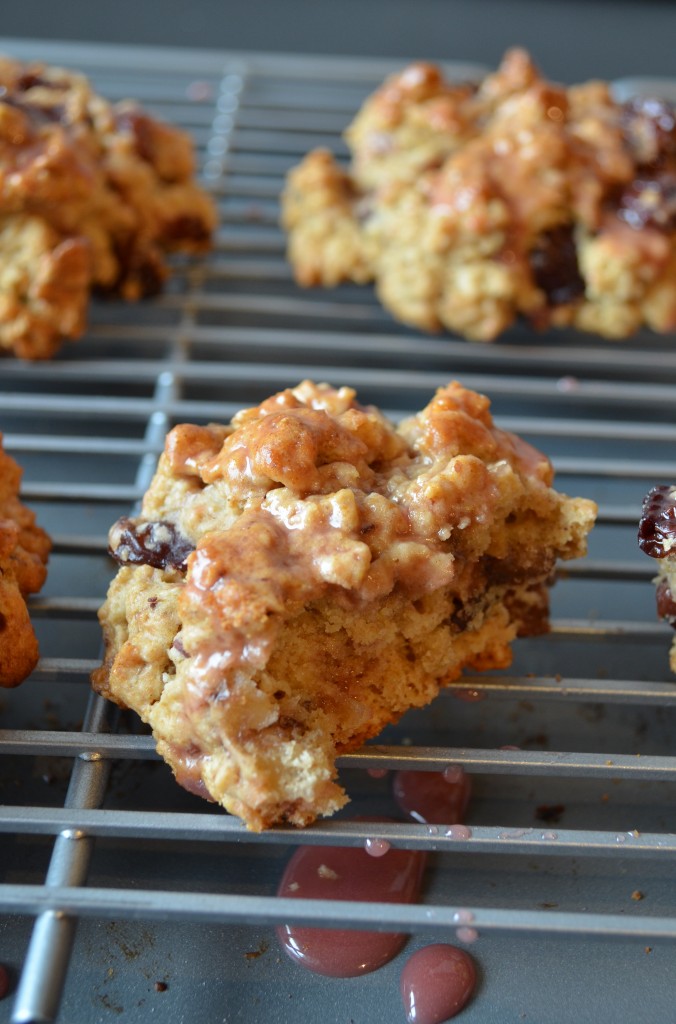
While the scones cool, make the tart cherry glaze. Whisk together the powdered sugar and cherry juice. Add more cherry juice as necessary to make a smooth glaze. Brush over the tops of the cooled scones. Don’t be afraid to glaze the scones 2, even 3 times, waiting a few minutes for the glaze to dry in between. The cherry glaze gives the scones this beautiful pink color, plus some extra cherry flavor!

The scones taste best on the day they are made, but can be kept in an airtight container for up to 3 days.

Time:

2 hours

Filed Under: Breakfast Tagged With: almond, butter & eggs, cherry, scones

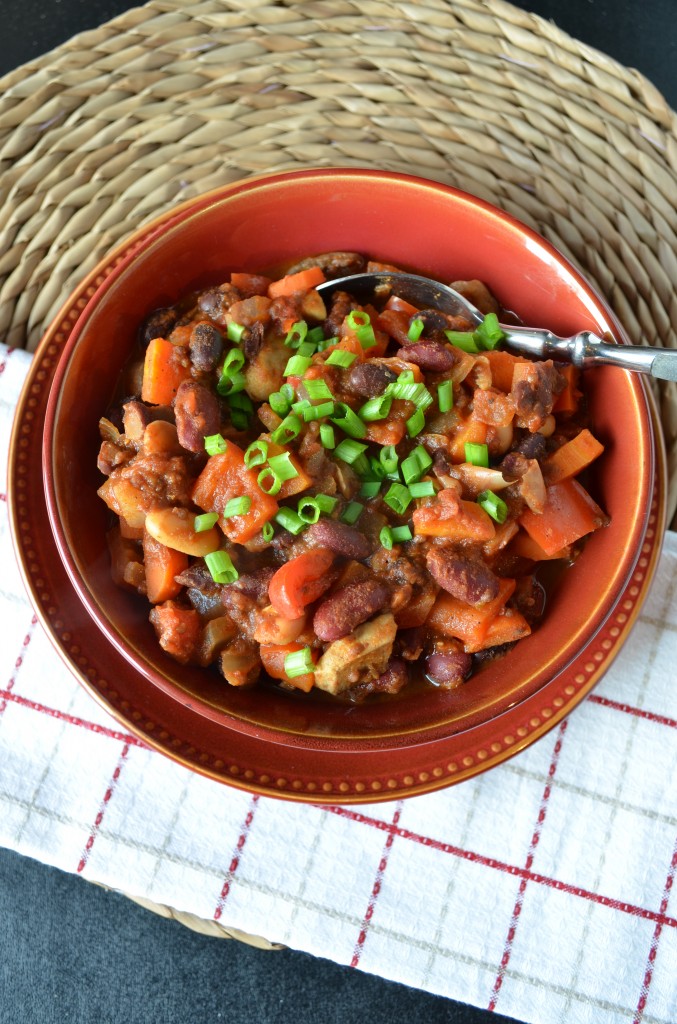
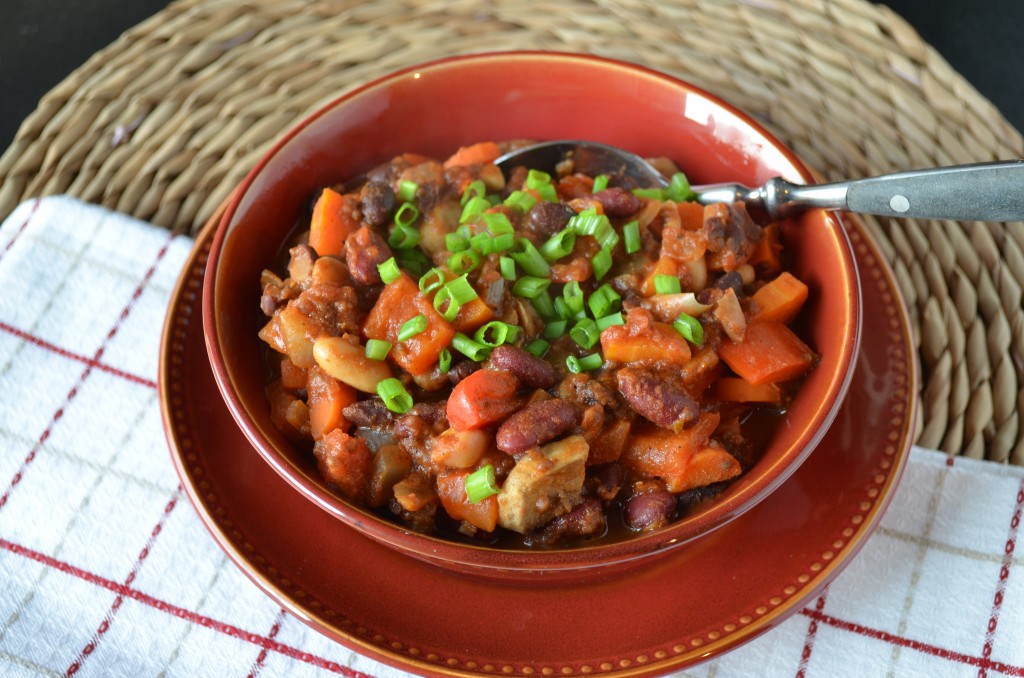
Vegan Three-Bean Chili

January 28, 2013 by Erica

Vegan Three-Bean Chili | coffeeandquinoa.com

Good morning.

It’s Monday.

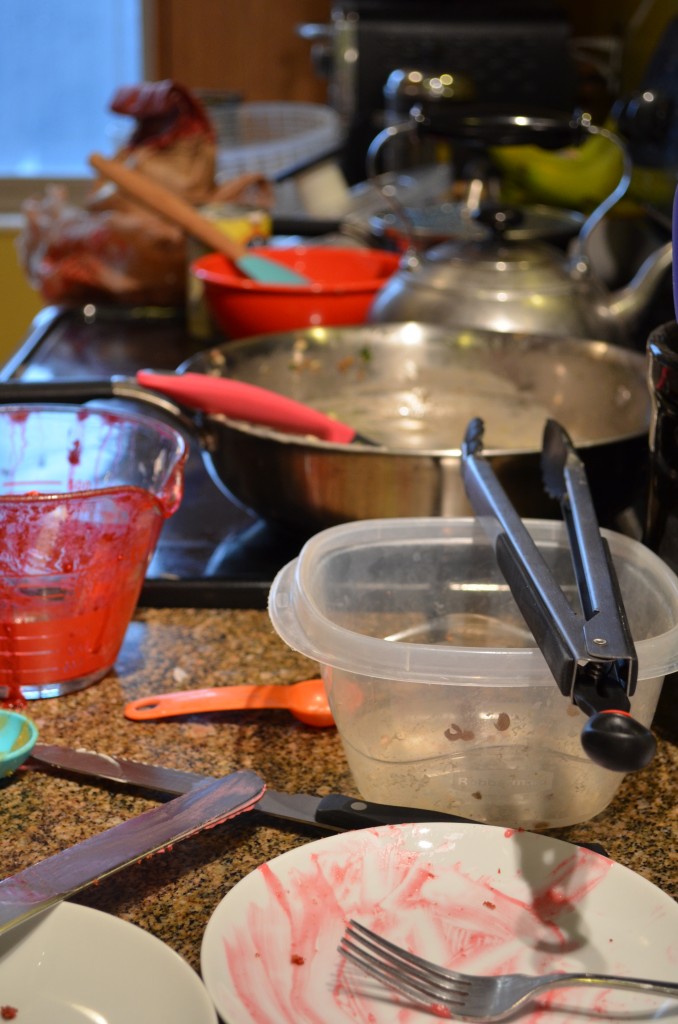
And I need another weekend to recover from my weekend. Because it looked something like this:

Vegan Three-Bean Chili | coffeeandquinoa.com

How exciting is my life when an “exhausting weekend” means I stayed in my apartment and cooked the whole time?

I’m 25, not 85, I swear.

I did get out this weekend, too – to hang out with some friends, get my snow tires put on (finallyyyy, and just in time for more snow!), and see a Sundance movie with Nate.

Vegan Three Bean Chili | coffeeandquinoa.com

But for the most part, I spent the weekend cooking. And it goes without saying that when I’m cooking, I’m also sampling the food I’m making. This weekend involved its fair share of sampling… as you may be able to tell from the kitchen photo above.

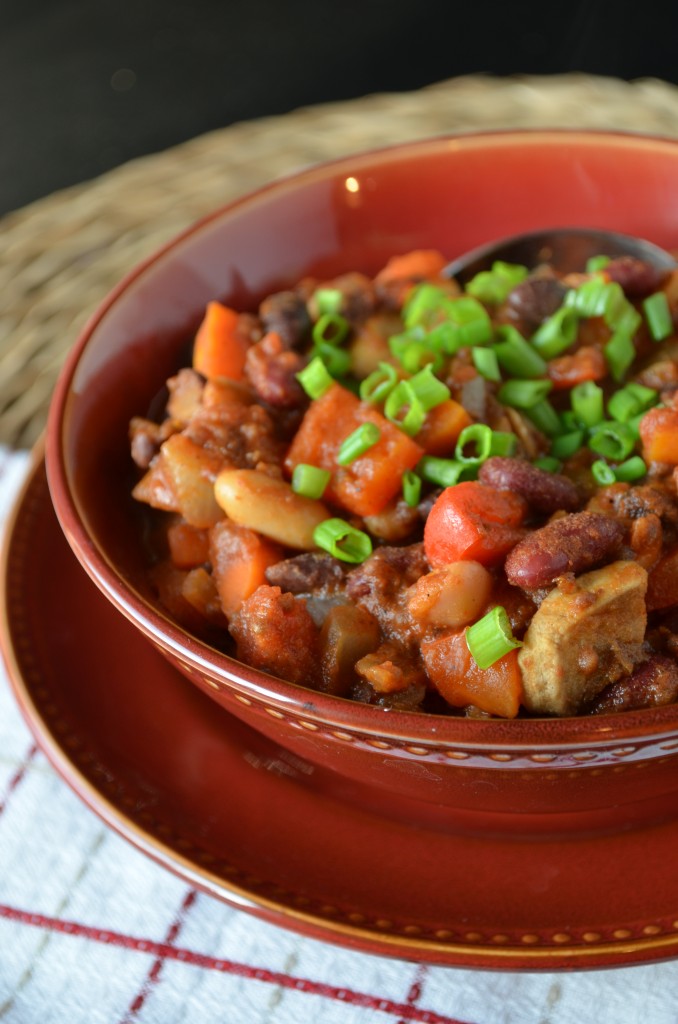
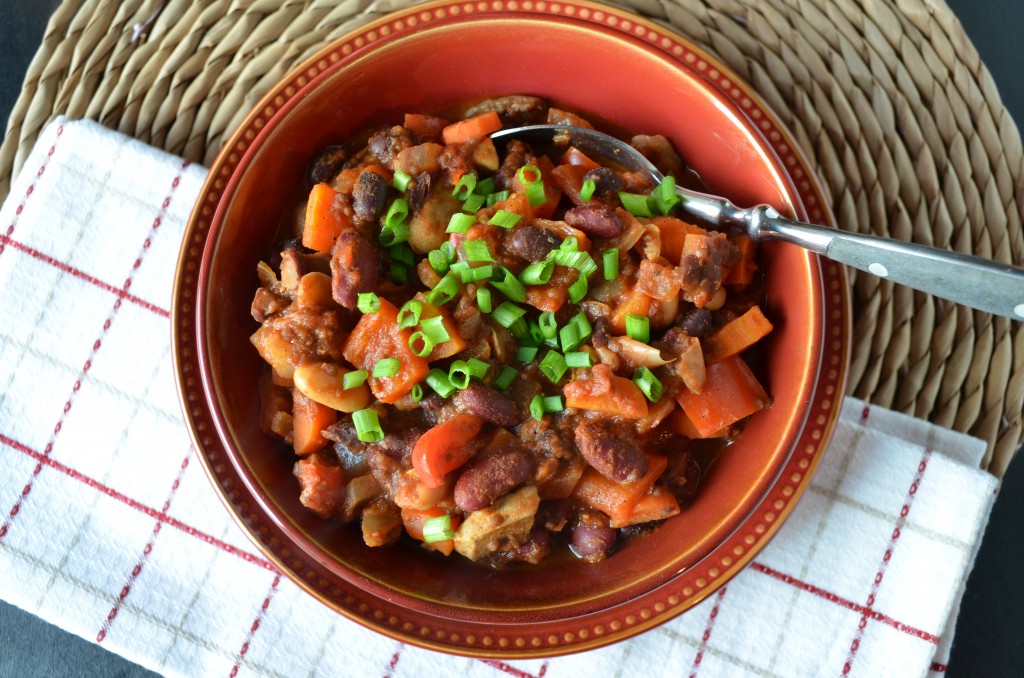
So I could use something healthy to start the week off with.  This vegan chili, chock full of veggies and three types of beans, is just what I have in mind.

Vegan Three-Bean Chili | coffeeandquinoa.com

There are many delicious chili recipes out there, but this is my favorite veg-based one. It has similar flavors to the ground beef chili I grew up with, but subs veggies and more beans for the beef.

This is not your simmer-all-day type of chili; it’s what I would call a weeknight chili, because it’s done in an hour start to finish. And more than half of that time is hands-off, with your chili bubbling on the stove while you come over and wash my dishes for me.

If chili is not what you’re craving on a Monday morning, just keep it in mind, because remember? Sunday is the Super Bowl. And chili is cheap, easy to make, and tastes even better reheated. The number of people you can feed with this is only limited by the size of your biggest pot.

Have a great start to your week!

Vegan Three-Bean Chili | coffeeandquinoa.com

Vegan Three-Bean Chili

Adapted from Oh She Glows

Serves 8-10

Ingredients:

1 Tbsp olive oil

3 garlic cloves, minced

1 yellow onion, diced

3 carrots, peeled and diced

2 red peppers, diced

16 oz. white mushrooms, sliced

1 14.5-oz. can black beans (low-sodium if possible)

1 14.5-oz. can kidney beans (low-sodium if possible)

1 14.5-oz. can cannellini beans (low-sodium if possible)

1 28-oz. can diced or crushed tomatoes in juice

juice of 1 lime

2 Tbsp chia seeds

3 Tbsp chili powder

1 Tbsp cumin

1 Tbsp unsweetened cocoa powder

2 tsp dried oregano

sprinkle of cayenne pepper

salt and pepper to taste

Instructions:

Heat olive oil in a large pot over medium heat. Add garlic and saute for 30 seconds. Add the onion, carrots, and bell peppers and saute for 5 minutes, stirring occasionally.

Stir in the rest of the ingredients, reduce heat to low, and simmer covered for 30-40 minutes.

Serve chili on its own, with rice, or over a potato for a hearty winter meal!

Time:

1 hour

Filed Under: Main Dishes, Vegan, Vegetarian Tagged With: beans, chili, football, winter favorites

Cauliflower Steaks with Charred Red Pepper Sauce and Lentils

January 25, 2013 by Erica

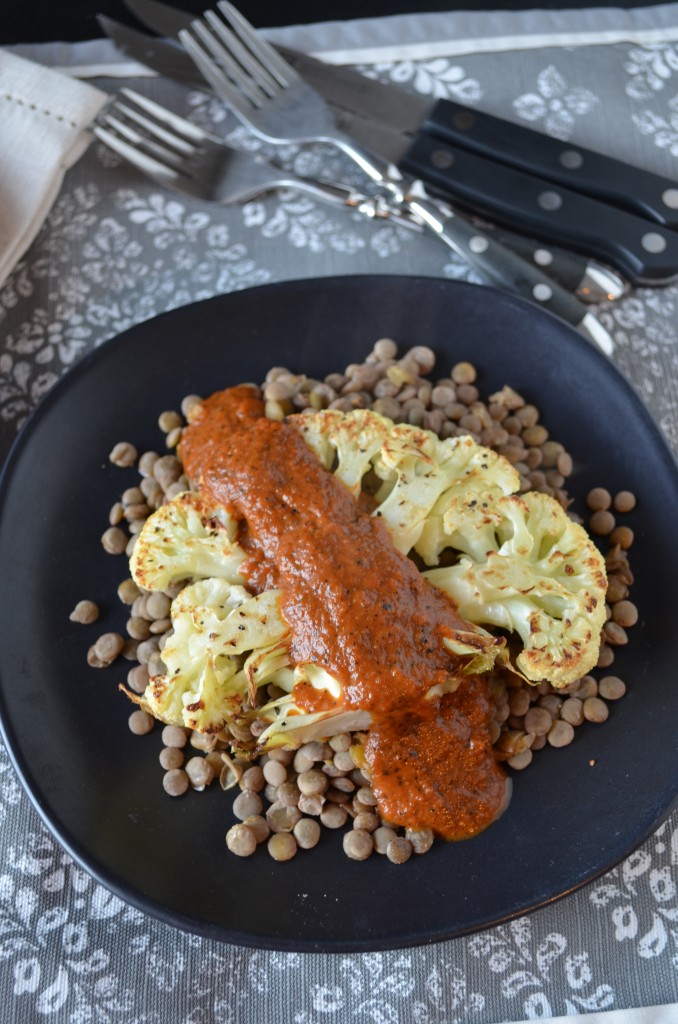
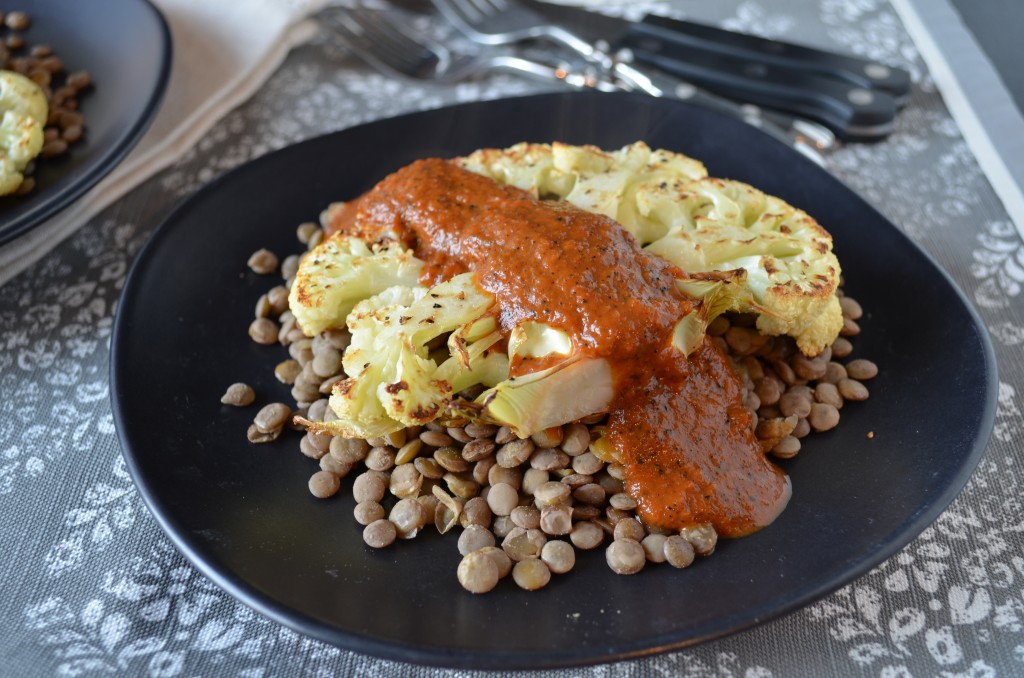
Cauliflower Steak with Lentils and Charred Red Pepper Steak Sauce | coffeeandquinoa.com

There was a time in the life of this blog – called December – when I felt like all I was posting were desserts and snacks. Crostini, popcorn, cake, hummus – I was posting some of my favorite recipes, but I wasn’t posting the healthy meals that I actually cook when I come home from work at night.

Oh, how the times have changed.

I guess that’s called January. And in January, I have posted a record number of healthy, savory recipes – noodle soup, chickpea tacos, even a salad. These are the things I really eat for dinner every night… at least in January. Give me a few more weeks and it’ll be big bowls of pasta and cheese, I’m sure. Actually, I’m definitely going to make some desserts this weekend. But for now, my intentions are good, and my posts are healthy!

Exhibit A:

Cauliflower Steak with Lentils and Charred Red Pepper Steak Sauce | coffeeandquinoa.com

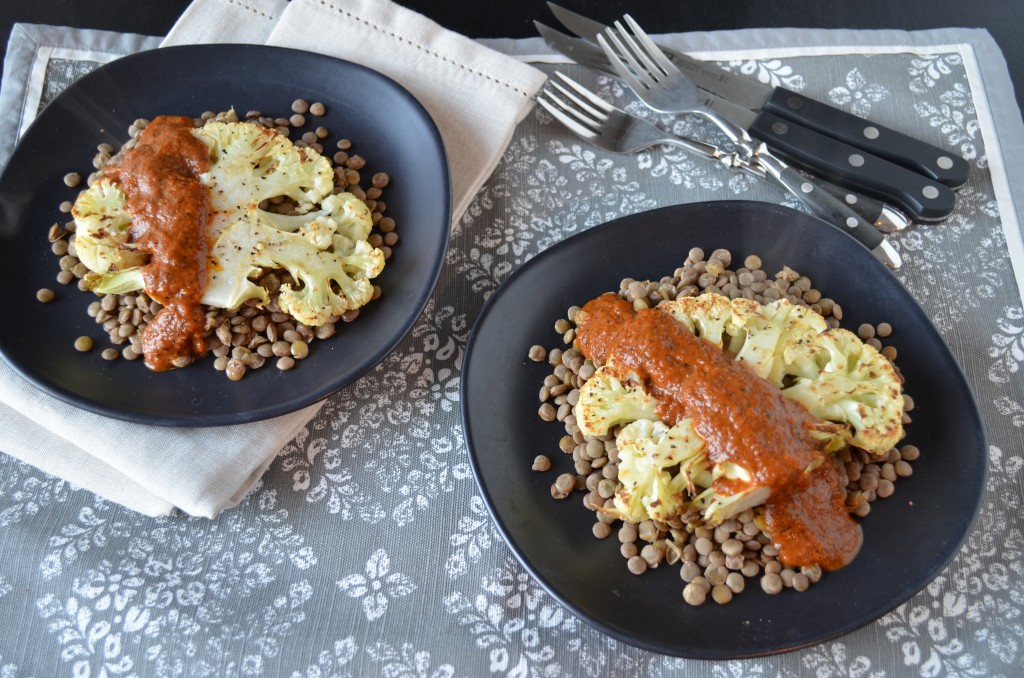
Roasted cauliflower “steaks” over lentils with an amazing charred red pepper “steak” sauce drizzled over the top. See the steam wafting up from those babies? I bet you’ll be home in time for dinner.

Cauliflower seems to be the new vegetable that everyone is pretending is meat. First came portobellos, of course, which I can understand. Now Pinterest is filled with cauliflower steaks. Any guesses as to what we’ll all be calling “steaks” in a few months? My bet is on the eggplant.

Today I’m hopping on the bandwagon, and as you can see, I really am pretending this is meat. I put steak sauce on it and ate it with a steak knife. These knives are like, the sharpest things in the world. They’re awesome but totally unnecessary here. I’ve been using them to cut grapefruit lately. And cauliflower… the other white meat.

Whatever you do, don’t skip this red pepper sauce! I don’t even care what you put it on… fake steaks, pasta, real steaks, pizza, whatever you like. It is out-of-this-world delicious, as Deb will tell you, and it really makes this meal! I made a double batch to ensure leftovers, and I will almost certainly be adapting it to a hearty pasta sauce soon. (As it is, I adapted Deb’s recipe to whatever I had in my pantry/fridge, which did not include Worcestershire sauce or orange juice. Feel free to check out the original recipe linked below.)

Have a fun and relaxing weekend, friends! I will be cooking and baking up a storm (typical) and attending one last Sundance film (my 4th of the week!). I already have another healthy entree lined up for you next week, and hopefully my experimenting this weekend will yield some yummy stuff, too!

Cauliflower Steak with Lentils and Charred Red Pepper Steak Sauce | coffeeandquinoa.com

Cauliflower Steaks with Lentils and Charred Red Pepper Steak Sauce

Steak sauce adapted slightly from the Tasting Table via Smitten Kitchen

Serves 2

Ingredients:

3/4 cup dried lentils

For the cauliflower steaks:

1 head cauliflower
1/2 Tbsp olive oil
sprinkle of salt and pepper

For the charred red pepper steak sauce:

1 red bell pepper
2/3 cup canned diced or crushed tomatoes in their juice
1 Tbsp lemon juice
1 Tbsp low-sodium soy sauce
2 Tbsp olive oil
1 Tbsp balsamic vinegar
1 Tbsp molasses
1 tsp mustard
1/2 tsp ground ginger
1/4 tsp ground black pepper
1/4 tsp onion powder
1/8 tsp allspice
kosher salt to taste

Instructions:

First, prepare the lentils. (I usually opt to do this the night before or earlier in the week to save time, and then just microwave them right before serving.) Rinse lentils in a strainer. Add to a small pot with 1 1/4 cups water. Bring to a boil and simmer until tender, about 40 minutes. Drain any remaining liquid.

Next, char the peppers. Preheat your broiler, position a rack near the top of the oven, and line a baking sheet with foil. I like to de-stem my peppers, scrape out the seeds, and cut them into 2-4 pieces before broiling. Just place them skin-side up on the baking sheet. Alternatively, you could broil them whole, turning occasionally, and de-stem and de-seed them afterwards. It should take you about 6 minutes to broil them. Check on them occasionally – most broilers are uneven, and you will probably need to rotate your pan halfway through. Remove your peppers from the baking sheet after broiling; you’ll need the baking sheet for the cauliflower. [Edit: Do not remove the pepper skins. You want to leave them on to get that nice charred flavor in your sauce.]

Preheat oven to 425. (If you have an oven thermometer, be sure to check it! Many ovens will say they are preheated after the broiler has been on, but the bottom of the oven is completely cold. If you don’t have an oven thermometer, just let the oven warm up for a few extra minutes.) Trim the outside leaves from your head of cauliflower. Place it stem down on a cutting board, and cut 4 1/2-inch “steaks” from the center of the cauliflower, the part that connects to the stem. You can also chop up the remaining hunks of cauliflower and roast them too, or you can save them for another use. (May I suggest leek and cauliflower potato skins?) You will probably have 2 really good steaks from the center that won’t fall apart at all, and two others that may fall apart a bit while cooking. That’s OK! Each person gets one nice steak and one that’s in pieces. :)

Place steaks on lined baking sheet. Brush each side with olive oil and sprinkle with salt and pepper. Roast until tender and golden on both sides, about 20 minutes, flipping once (gently!) around the 12-minute mark.

While the oven is preheating and the steaks are cooking, whip up the charred red pepper sauce. You’ve already charred the peppers, so you’ve got a head start. If you have an immersion blender, simply add all ingredients to a small pot and blend until smooth. If using a regular blender, add all ingredients and blend until smooth, then pour into a small pot. Simmer over low heat for 15 minutes, stirring occasionally. You can also let it go a little shorter or longer, basically until whenever the cauliflower is done. At this point, you can blend it again to get it extra smooth (easy if you have an immersion blender), or simply serve it as-is.

Serve immediately once cauliflower is done. Place the cauliflower steaks on top of a scoop of lentils, and ladle red pepper sauce over the top.

Enjoy!

Time:

45 minutes

Filed Under: Main Dishes, Vegan, Vegetarian Tagged With: bell pepper, cauliflower, lentils, steak

Taco Tuesday: Chickpea Tacos with Guacamole

January 22, 2013 by Erica

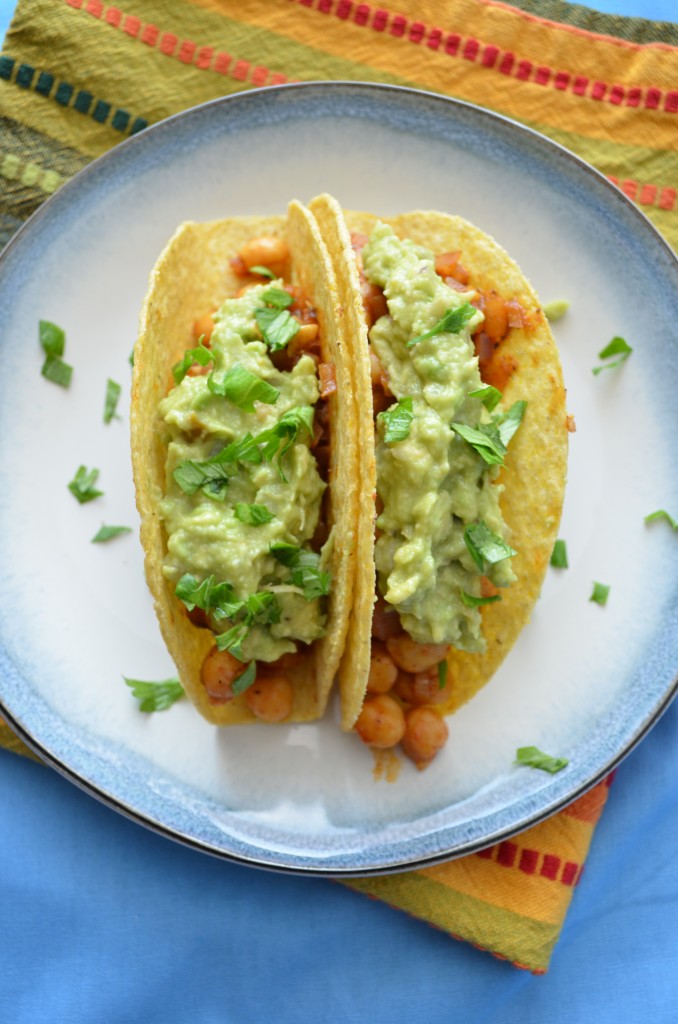
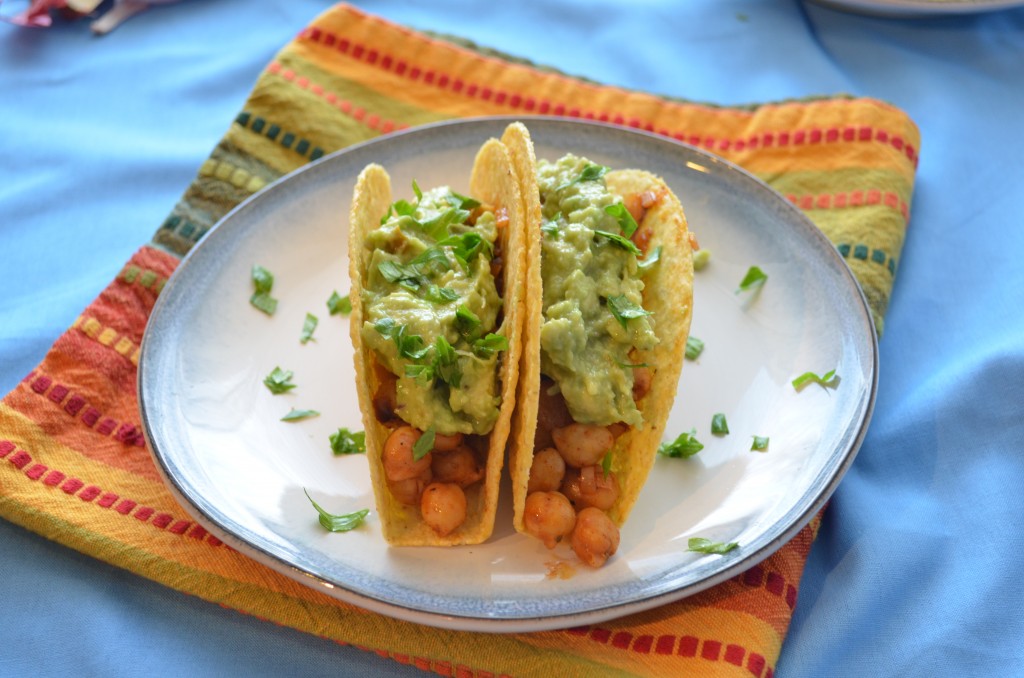
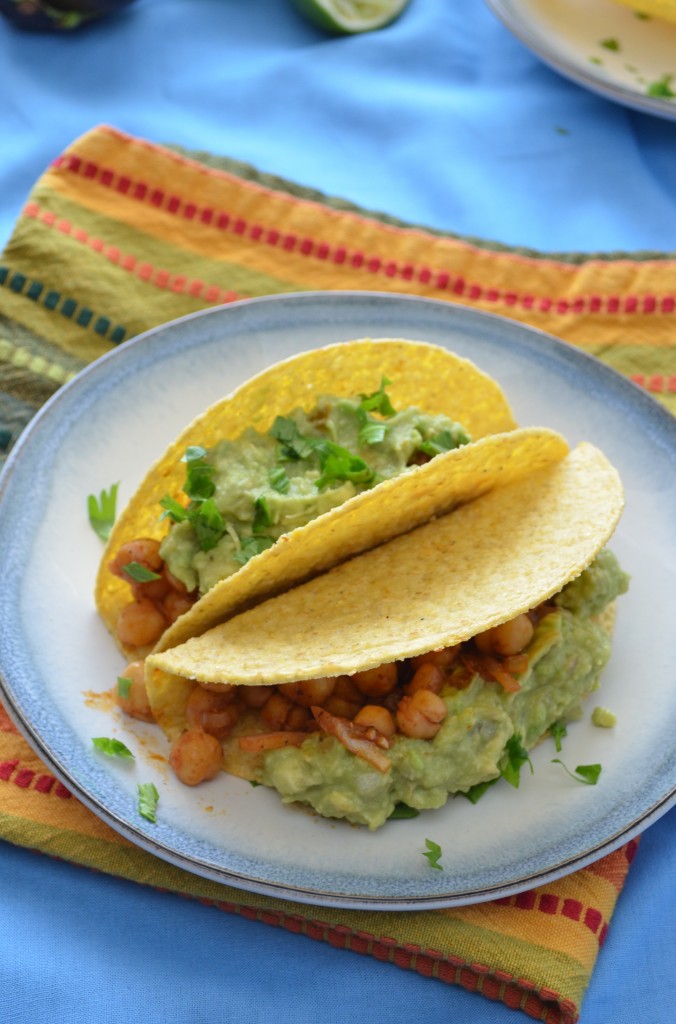
Chickpea Tacos with Guacamole | coffeeandquinoa.com

You know I had to post this on a Tuesday.

Who doesn’t remember Taco Tuesdays from their childhood or, in my case, their college dining hall? Everyone likes tacos, and in college, you could count on that taco bar every Tuesday for lunch. Like clockwork.

So it’s kind of a dilemma when you stop eating meat and dairy and all of a sudden… those ground beef tacos you’ve been eating for years are no longer an option, never mind the cheese and sour cream you used to top them with.

Chickpea Tacos with Guacamole | coffeeandquinoa.com

Grilled veggie tacos are a good option, and I’ll definitely do a post about those when summer vegetables are in season. But what about when you’re in the mood for a gold, old-fashioned, Old El Paso-style taco night? Diced tomatoes and shredded lettuce are just not gonna cut it.

After much experimentation, I discovered that chickpeas are the ideal substitute for beef or chicken when you want to use the same spices and toppings. And they’re still loaded with protein! Even though I’m eating (some) meat again now, I’m sticking with the chickpea tacos. They’re just too good to change!

Chickpea Tacos with Guacamole | coffeeandquinoa.com

These are super easy to make if you’re hosting a taco night and also doing beef or chicken tacos. You make these exactly as you would make the beef or chicken ones, only they don’t take as long. So no extra work for you, and everyone’s happy!

Chickpea Tacos with Guacamole | coffeeandquinoa.com

I do have some words of wisdom for you in regard to these guys, especially if you usually make your tacos with meat:

– When sauteing the chickpeas, you are only trying to heat them through and evaporate some of the liquid from the spice mix. You actually want to avoid getting any color on them, because they get quite dry. So just get ‘em hot and they’re done.

– Top them with something creamy, like guacamole or sour cream. The added moisture works well, and it has the added bonus of keeping the chickpeas in place. Chickpeas are rolly polly little suckers, and they will exit your taco in a hurry. Mash some guacamole down on top of them – problem solved.

I wish all problems could be solved like that.

Chickpea Tacos with Guacamole | coffeeandquinoa.com


5.0 from 5 reviews
Taco Tuesday: Chickpea Tacos with Guacamole
 
Print
Hands-on time
10 mins
Cook time
10 mins
Total time
20 mins
 
This vegan taco recipe pleases both meat- and veg-eaters alike. Chickpeas make the ideal substitute for beef or chicken, and use the same taco seasoning.
Author: Erica
Yields: 6 medium-sized tacos
Ingredients
For the tacos:
  • 1 tsp olive oil
  • 1 clove garlic, minced
  • 1/4 red onion, minced
  • 1 1/2 cups cooked chickpeas (or 1 14-oz can, drained and rinsed)
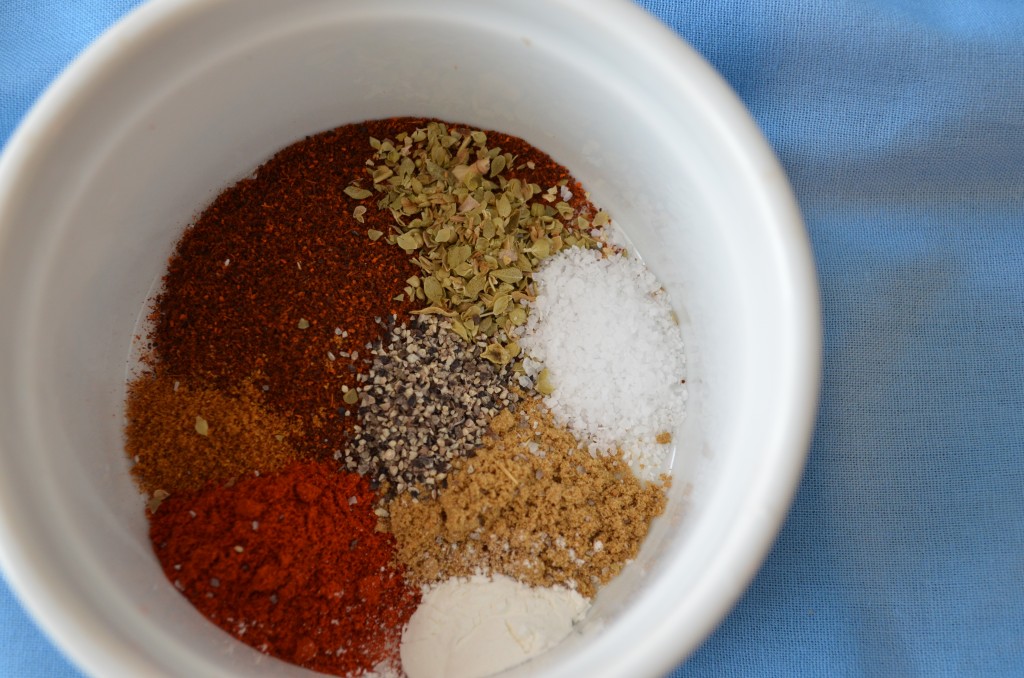
For the taco seasoning (or use 1/2 a packet of your favorite taco seasoning mix):
  • 1/2 Tbsp chili powder
  • 1/2 tsp smoked paprika
  • 1/2 tsp cumin
  • 1/4 tsp oregano
  • 1/4 tsp kosher salt
  • 1/4 tsp ground black pepper
  • 1/4 tsp cornstarch
  • 1/8 tsp cayenne pepper
  • 1/4 cup water
For serving:
  • 6 hard taco shells or medium-sized tortillas
  • 1/2 recipe Simple Guacamole
  • chopped cilantro
  • lime wedges
Instructions
  1. First, prepare the guacamole according to these instructions.
  2. In a small bowl, combine all taco seasoning ingredients, including water. The tacos come together quickly, so it's best to have this taken care of first!
  3. In a large pan, heat olive oil over medium heat. Once shimmering, add the garlic and onion and saute until onion is soft, 3-4 minutes.
  4. Pour in chickpeas and taco seasoning, and stir to combine. Saute, stirring occasionally, until chickpeas are heated through and some of the water is evaporated, 2-3 minutes.
  5. Serve alongside taco shells, guacamole, cilantro and lime wedges.
  6. Devour!
Notes
Taco seasoning adapted from Budget Bytes.
3.2.1753


Chickpea Tacos with Guacamole | coffeeandquinoa.com

Related Posts Plugin for WordPress, Blogger...

Filed Under: Tacos & Wraps, Vegan, Vegetarian Tagged With: avocado, chickpeas, guacamole, mexican, tacos, vegan, vegetarian

  • « Previous Page
  • 1
  • …
  • 46
  • 47
  • 48
  • 49
  • 50
  • …
  • 58
  • Next Page »

Welcome

Hi, I'm Erica! I'm a lover of all types of food, although I’m mostly vegetarian these days. I like salad, but I LOVE chocolate. This blog is a place where I try to balance the two.
Read More…

  • 
  • 
  • 
  • 
  • 

Subscribe via email

Get new posts delivered straight to your inbox!

Recipes by Category

Chai Latte Ice Cream // Coffee & Quinoa
Small Batch Chocolate Cupcakes with Goat Cheese Frosting
Salted Chocolate Ice Cream
lemon rosemary olive oil cake from coffee & quinoa
Milk Chocolate Peanut Butter & Jelly Cups | coffeeandquinoa.com

Archives

my foodgawker gallery
my healthy aperture gallery
View my Tasty Kitchen Profile

Connect

Hi, I'm Erica! I'm a lover of all types of food, although I’m mostly vegetarian these days. I like salad, but I LOVE chocolate. This blog is a place where I try to balance the two.

My Ultimate Avocado Toast | coffeeandquinoa.com
Herbed Tomato Soup with Cornbread Croutons | coffeeandquinoa.com
Our Wedding - Part Two | coffeeandquinoa.com
Blueberry Kale Stem Smoothie | coffeeandquinoa.com
Shredded Kale and Brussels Sprout Salad | coffeeandquinoa.com
Our Wedding 9.20.14 | coffeeandquinoa.com
  • 
  • 
  • 
  • 
  • 

Copyright © 2025 · Coffee & Quinoa · Site Design by Heather Mackan · Built on GenesisWP